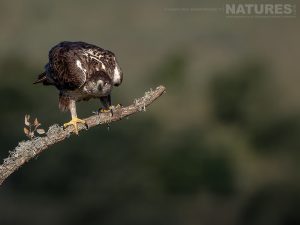
The right ISO for wildlife photography is the one that lets you keep the shutter speed & aperture the subject needs. A little noise is a price worth paying; a blurred or missed photograph is not. In practice that means working at a higher ISO than most photographers are comfortable with, provided the exposure is sound & the animal is sharp.
On NaturesLens wildlife photography holidays, we are asked regularly what the maximum ISO should be. There is no single number, because it depends on your camera, the light & what the photograph has to do, but there is a simple method for finding your own answer & I set it out below.
What does ISO actually do in wildlife photography?
ISO is the amplification applied to the signal from the sensor. Raising it brightens the image, but it does not collect any extra light.
That distinction matters, because most of the noise in a high-ISO image comes from the small amount of light that reached the sensor in the first place, not from the ISO number itself. If I raise ISO because the scene is dark, the noise I see is largely the cost of the darkness. If the scene is bright & I raise ISO anyway, the extra noise is usually much smaller than people expect.
The practical lesson is that ISO is the setting I adjust last, to fill the gap between the exposure I want & the exposure I can get from shutter speed & aperture.

Why is a sharp, noisy photograph better than a clean, blurred one?
Noise can be reduced, to a degree, in editing. Motion blur & missed focus cannot be fixed.
Modern denoising software is remarkably capable, & recent cameras produce usable files at sensitivities that would have been unthinkable ten years ago. A leopard photographed at ISO 6400 with a sharp eye & a little visible grain is a better photograph than the same leopard at ISO 800 where the shutter speed was too slow & the animal moved.
This is why I generally choose shutter speed first, then aperture, & let ISO rise to meet the exposure.
How high is too high for ISO in wildlife photography?
The honest answer is that ISO is too high when the detail or colour you need has gone, even after the noise reduction you would normally apply. Where that point falls depends mainly on sensor size & how recent the camera is. These figures are starting points to test against, not rules:
- Smaller sensors (Micro Four Thirds, 1-inch & compact bridge cameras): noise tends to appear earliest, often somewhere around ISO 1600 to 3200.
- APS-C: commonly usable to around ISO 3200 to 6400.
- Full-frame: commonly usable to ISO 6400 to 12800, with the latest stacked & back-illuminated sensors often holding up well beyond that.
There is a second way in which ISO can be too high, & it has nothing to do with the camera. If a bird has settled on a branch but the shutter speed is still set for flight, the ISO will climb to compensate for a shutter speed the photograph no longer needs. Slowing the shutter speed in that situation can bring the ISO down by two or three stops without any risk to sharpness.
We look at that habit in more detail in our guide to using Manual mode with Auto ISO.
What ISO should you use in bright light, golden hour & low light?
These ranges are only a rough guide, because every camera behaves differently, but they are the kind of figures I expect when working with a modern full-frame body:
- Bright daylight: ISO 100 to 800, depending on the shutter speed required.
- Golden hour & overcast light: ISO 800 to 3200.
- Dawn, dusk & forest shade: ISO 3200 to 12800.
- Night, from a hide or waterhole: ISO 6400 upwards, with the exact ceiling depending on how the camera performs.
The best way to find your own ceiling is to test it, which I come back to below.

How should you set up Auto ISO for wildlife?
Auto ISO is one of the most useful features for wildlife photography, because animals move between sun, shade & cover far faster than I can change settings.
The most reliable method for many photographers is to use Manual exposure with Auto ISO. I choose the shutter speed & aperture the photograph needs, & the camera selects the ISO to give a correct exposure. If the light drops, the ISO rises; the shutter speed & depth of field stay where I put them.
Most cameras let me set a minimum & maximum ISO, & some also let me choose how quickly Auto ISO responds. A sensible maximum is the highest ISO I am happy to work with after testing, not the highest the camera offers. If the maximum is set too low, the camera cannot reach a correct exposure & the picture will be underexposed instead.
It is still worth glancing at the ISO reading in the viewfinder as the light & the subject change. Auto ISO takes care of the routine adjustments, but it cannot tell me when the shutter speed I set a minute ago is no longer the right one.
Used with exposure compensation, Auto ISO also gives me a way of adjusting brightness without changing the speed or aperture I have chosen.
When should you set ISO manually?
There are situations where a fixed ISO is the better choice. In steady light, such as an animal feeding in an even evening glow or a bird at a hide in consistent conditions, a fixed ISO produces consistent exposures across a whole sequence, which makes editing easier.
Fixed ISO is also useful when I do not want the camera responding to changing backgrounds. A bird that flies from dark woodland to bright sky is lit the same way throughout, so a fixed ISO keeps its exposure steady even while the background changes.
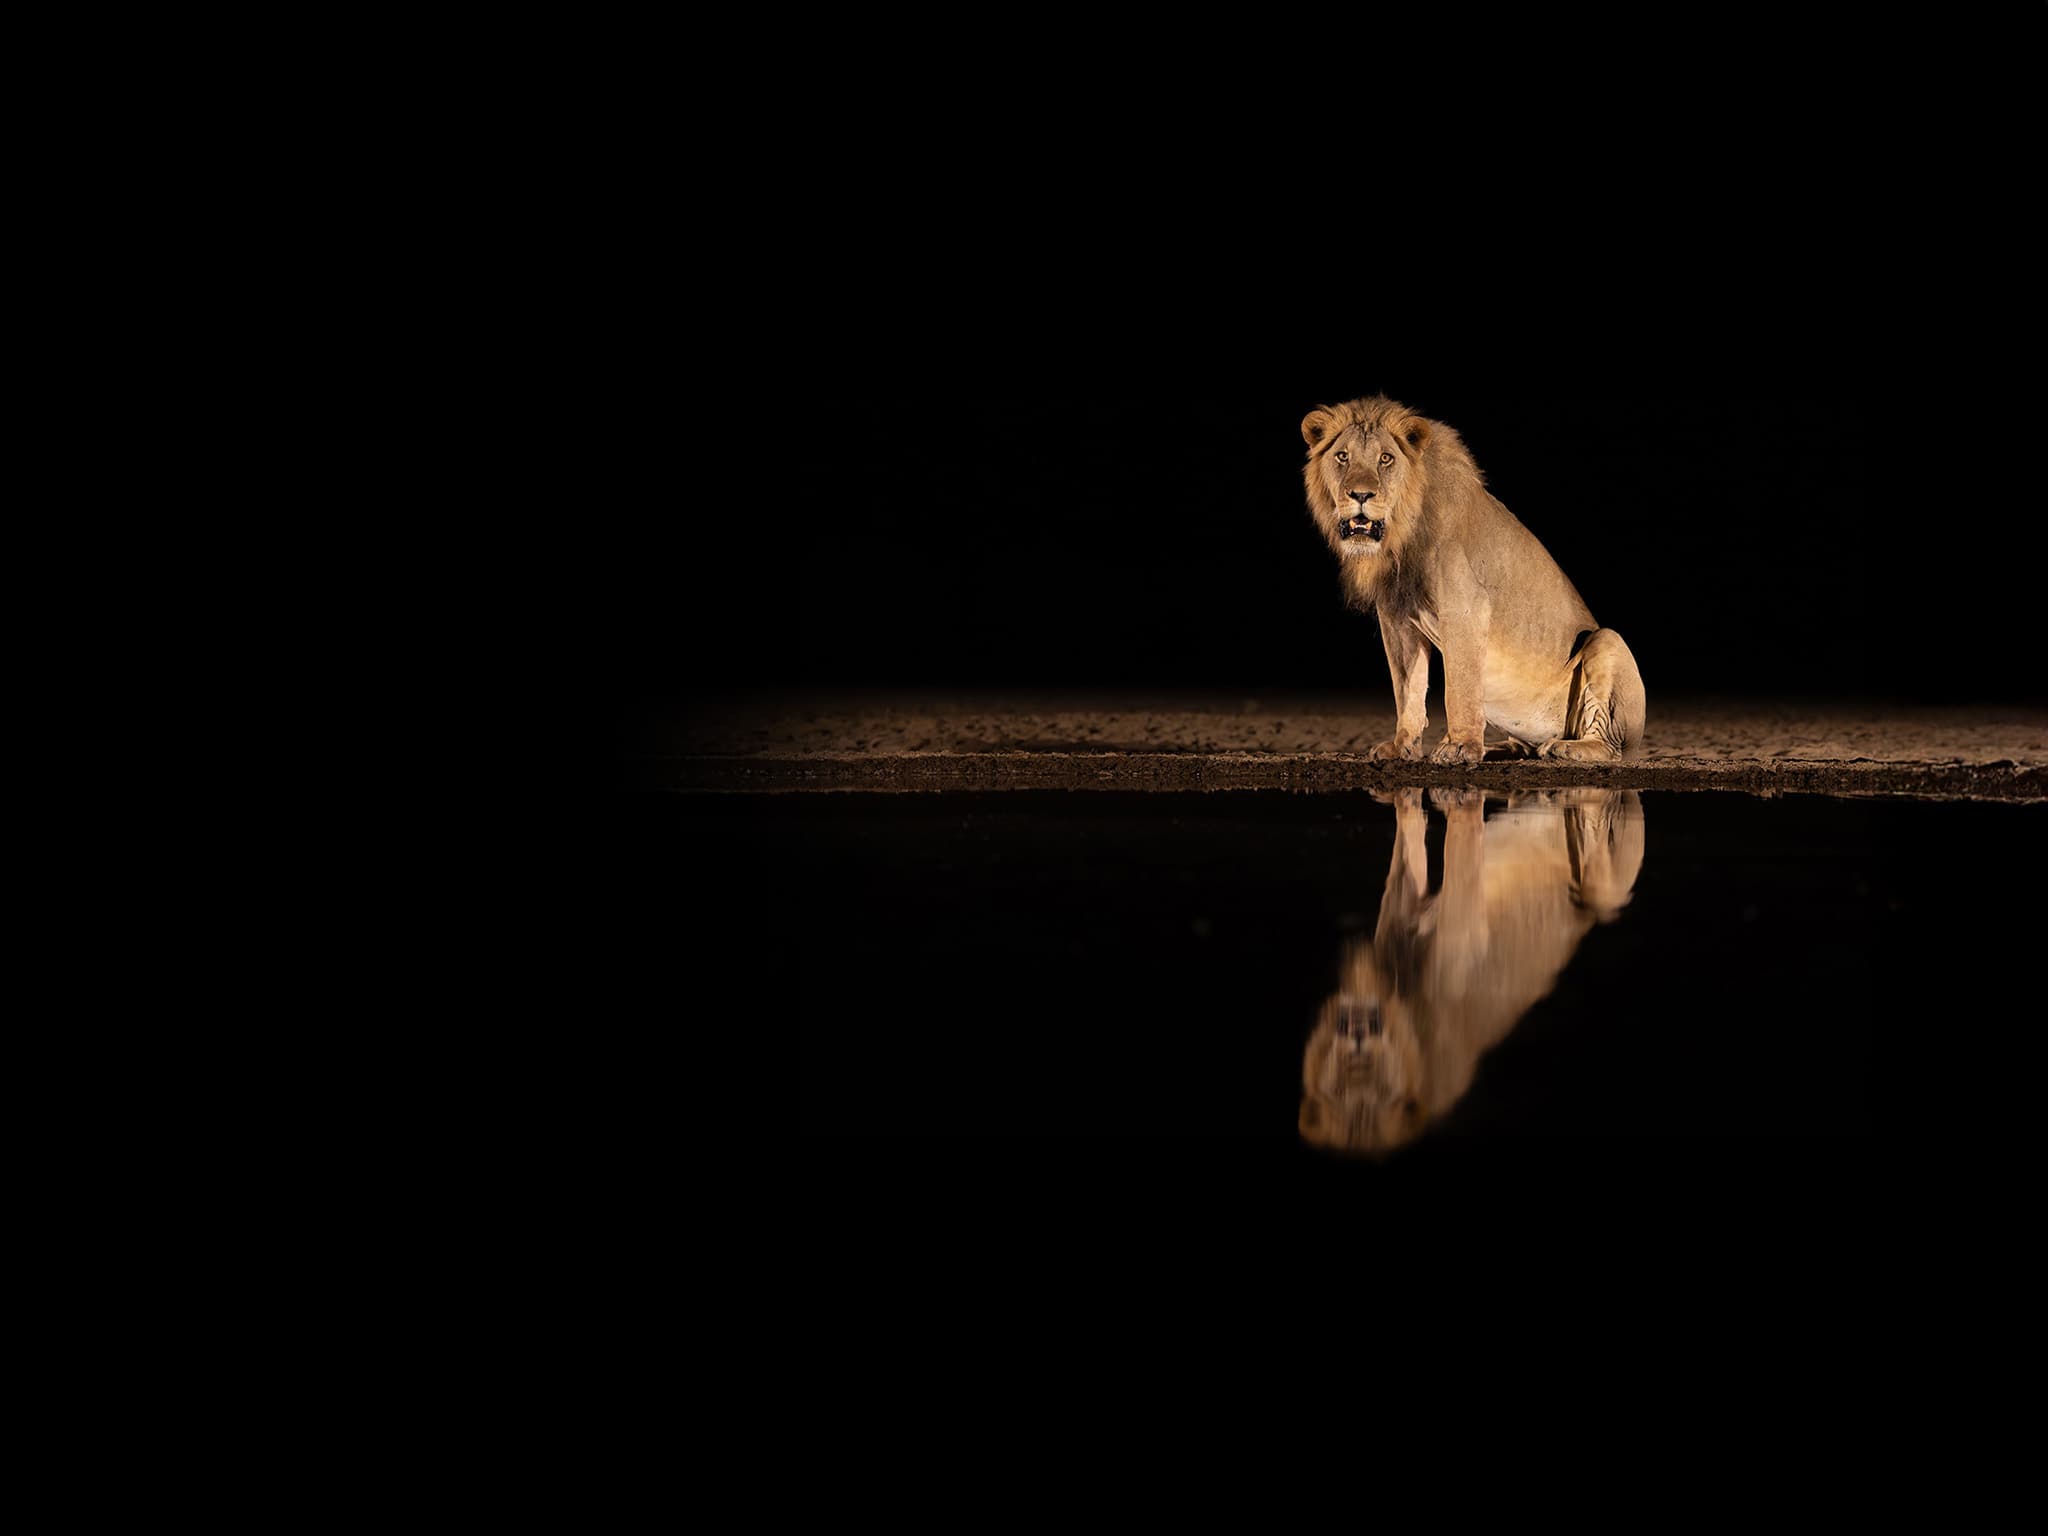
Night photography from a hide or waterhole often relies on a manual ISO as well. With only a small amount of available light, I usually know what exposure the scene needs & prefer to set it myself.
Does underexposing to keep ISO low actually help?
It is tempting to keep ISO low by letting the exposure fall short & recovering the brightness later. In practice, this rarely reduces noise.
The amount of light the sensor captures is set by shutter speed & aperture, not by ISO. If the picture is dark because I kept ISO low, I have captured exactly the same light as before, & brightening the file in editing lifts the noise in the shadows along with the subject. Many modern cameras give similar results either way, but a correctly exposed file is easier to process & protects colour & shadow detail.
The exception is deliberate. Exposing darker to protect the highlights in white feathers or a bright sky is a sound decision, but the reason is the highlights, not the noise. If I want a dark, low-key image, I can expose for that look directly & avoid heavy shadow recovery later.
How do you find your camera’s usable ISO limit?
This is the most useful piece of homework a wildlife photographer can do before a trip, & it is not complicated.
Photograph the same stationary subject, in the same light, at a series of ISO settings, going from low to the highest the camera offers. Shoot RAW & include some darker areas in the frame, because that is where noise shows first. Open the files at full size & compare them, ideally after applying the noise reduction you normally use. Choose the highest setting at which you are still happy with the detail & colour, & use that as your ceiling.
It is worth thinking about how the photograph will be used. An image shared online or printed at a modest size will tolerate far more noise than one printed large, so your ceiling may reasonably differ from one project to the next.
You may be surprised by how high that ceiling is, & knowing it in advance makes it much easier to keep the shutter speed where it needs to be when an animal appears.
How does ISO fit with the rest of your wildlife settings?
ISO is the flexible part of exposure. Shutter speed freezes or blurs the animal, aperture shapes depth of field & the background, & ISO makes the sums add up. If you understand the first two, ISO becomes a matter of deciding how much noise you are willing to accept for the photograph you want.
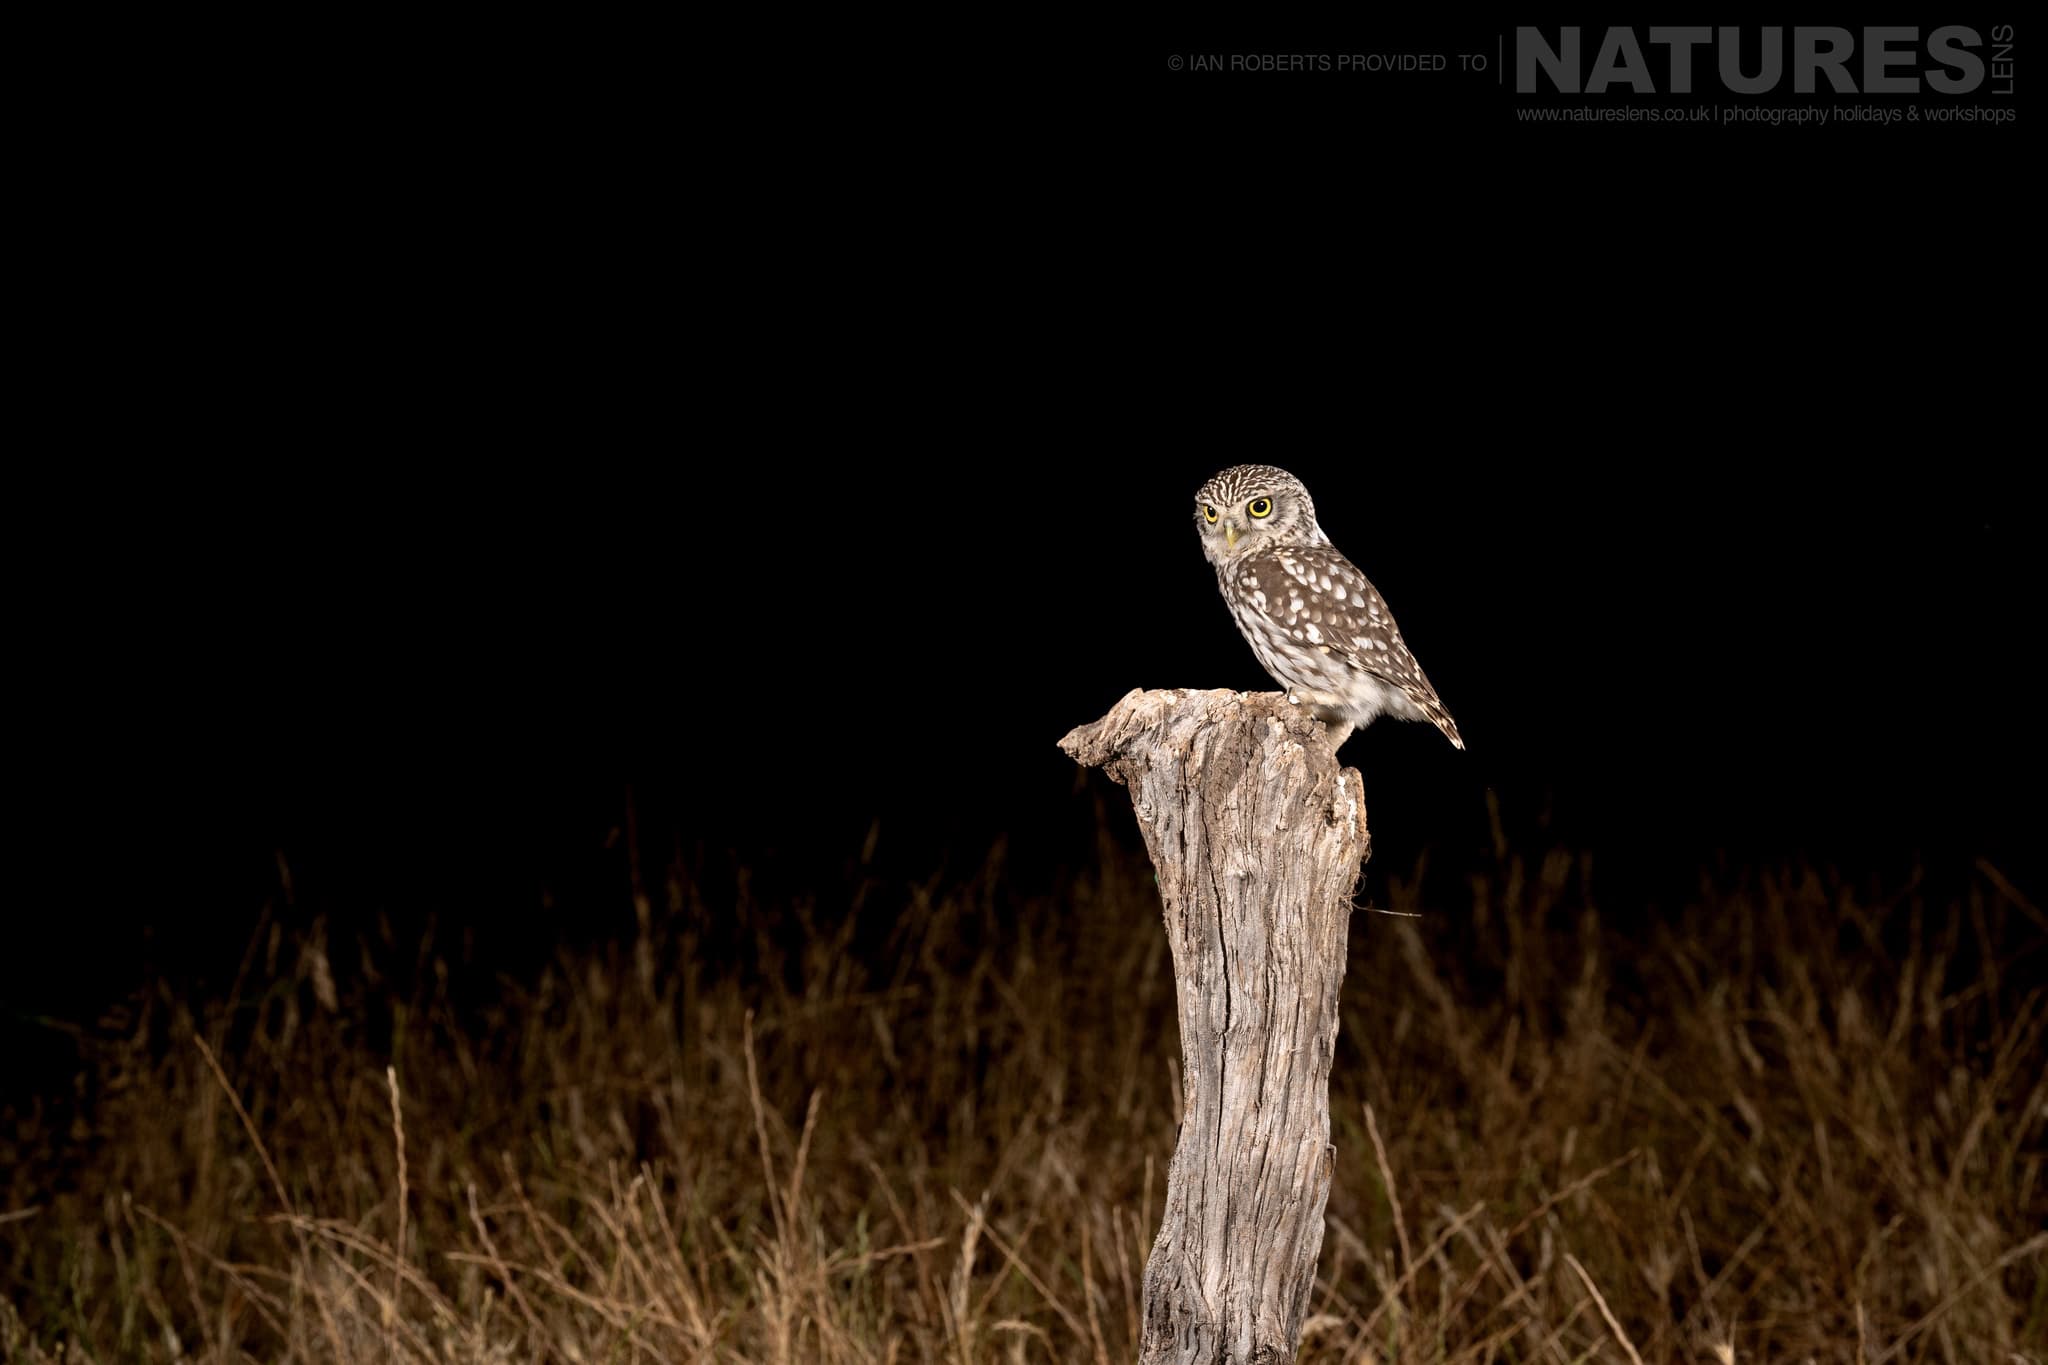
It is also worth remembering that noise is not always the problem photographers expect it to be. In low light with the wildlife in front of me, a little texture often matches the mood of the image. I rarely look at a photograph of an owl at night & think the grain has ruined it.
If you would like to test your ISO ceiling alongside experienced wildlife photographers, two of our signature trips are ideal: Wildlife of Shompole Wilderness in Kenya includes photography at a waterhole after dark, & Japanese Wildlife in Winter brings snow & misty early-morning light. You can also explore all of our wildlife photography holidays to see where else we travel.
Wildlife Photography Camera Settings
- ISO & Auto ISO for Wildlife Photography: How High Is Too High?
- How Can Manual Mode with Auto ISO Improve Your Wildlife Photography?