Wildlife photography presents an interesting challenge because we can spend considerable time preparing for a photograph, yet have only a fraction of a second to capture it. An animal moves unexpectedly, a bird takes flight or the light changes just as something interesting happens, & suddenly the camera settings that worked perfectly a moment earlier are no longer appropriate.
For much of my wildlife photography, I use Manual mode with Auto ISO because it allows me to make the creative decisions that matter while leaving the camera to handle some of the exposure adjustments. I choose my shutter speed to control movement, select my aperture to determine depth of field & allow ISO to respond to the light, making corrections when necessary.
It is an approach that suits the way we photograph wildlife on our NaturesLens holidays, where patience, anticipation & spending time with productive subjects are central to what we do. Understanding how to use this combination effectively can make a considerable difference, not simply to the number of photographs you capture, but to the consistency & quality of the images you bring home.

Why Do I Prefer Manual Mode with Auto ISO for Wildlife Photography?
For me, the most important advantage of Manual mode with Auto ISO is that it allows me to retain control over the appearance of the photograph without constantly having to manage all three exposure settings. That distinction matters because shutter speed & aperture determine important characteristics of the resulting image, whereas ISO helps the camera achieve the required brightness with those settings.
When I’m photographing wildlife, I generally have a reasonably clear idea of what I want to achieve. If I’m waiting for a bird to launch from a perch, I know that I need a sufficiently fast shutter speed to capture the movement. If I’m photographing a mammal against distant vegetation, I might want a relatively wide aperture to soften the background. These are deliberate photographic decisions, & I would rather make them myself.
The difficulty comes when the available light changes while the subject is still moving. This is something we encounter regularly in places such as Costa Rica, where wildlife moves between shaded forest, open clearings & areas of dappled sunlight. A bird can be beautifully illuminated one moment before disappearing beneath the canopy, with an enormous difference in exposure between the two positions.
By allowing the camera to adjust ISO automatically, I can retain the shutter speed & aperture I’ve selected without having to alter the exposure manually every time the subject moves.
Of course, this doesn’t mean that I can ignore what the camera is doing. I still need to consider the quality of the light, watch the exposure & recognise when my chosen settings are no longer appropriate. What changes is the amount of unnecessary adjustment required during a photographic encounter.
That leaves me free to concentrate on composition, backgrounds & animal behaviour, which are ultimately much more interesting than watching numbers change in the viewfinder.
How Do I Decide Which Shutter Speed to Use?
My starting point is usually shutter speed, because I need to consider what the subject might do next rather than simply what it is doing at that particular moment. Wildlife photography often rewards anticipation, & a shutter speed selected for a resting animal may prove completely inadequate if that animal suddenly begins moving.
When photographing birds, for example, the speed I select depends on whether I’m working with a stationary subject, anticipating a take-off or following something already in flight. A bird sitting quietly on a perch might allow me to work at 1/500 second or slower, depending on focal length, stability & conditions, while photographing fast flight might require 1/2500 or 1/3200 second.
There is no universal shutter speed that works for every bird or animal. A large, relatively slow-flying bird presents a different challenge from a small, rapidly moving species, while a mammal walking steadily across open ground requires a different approach from two animals chasing one another.
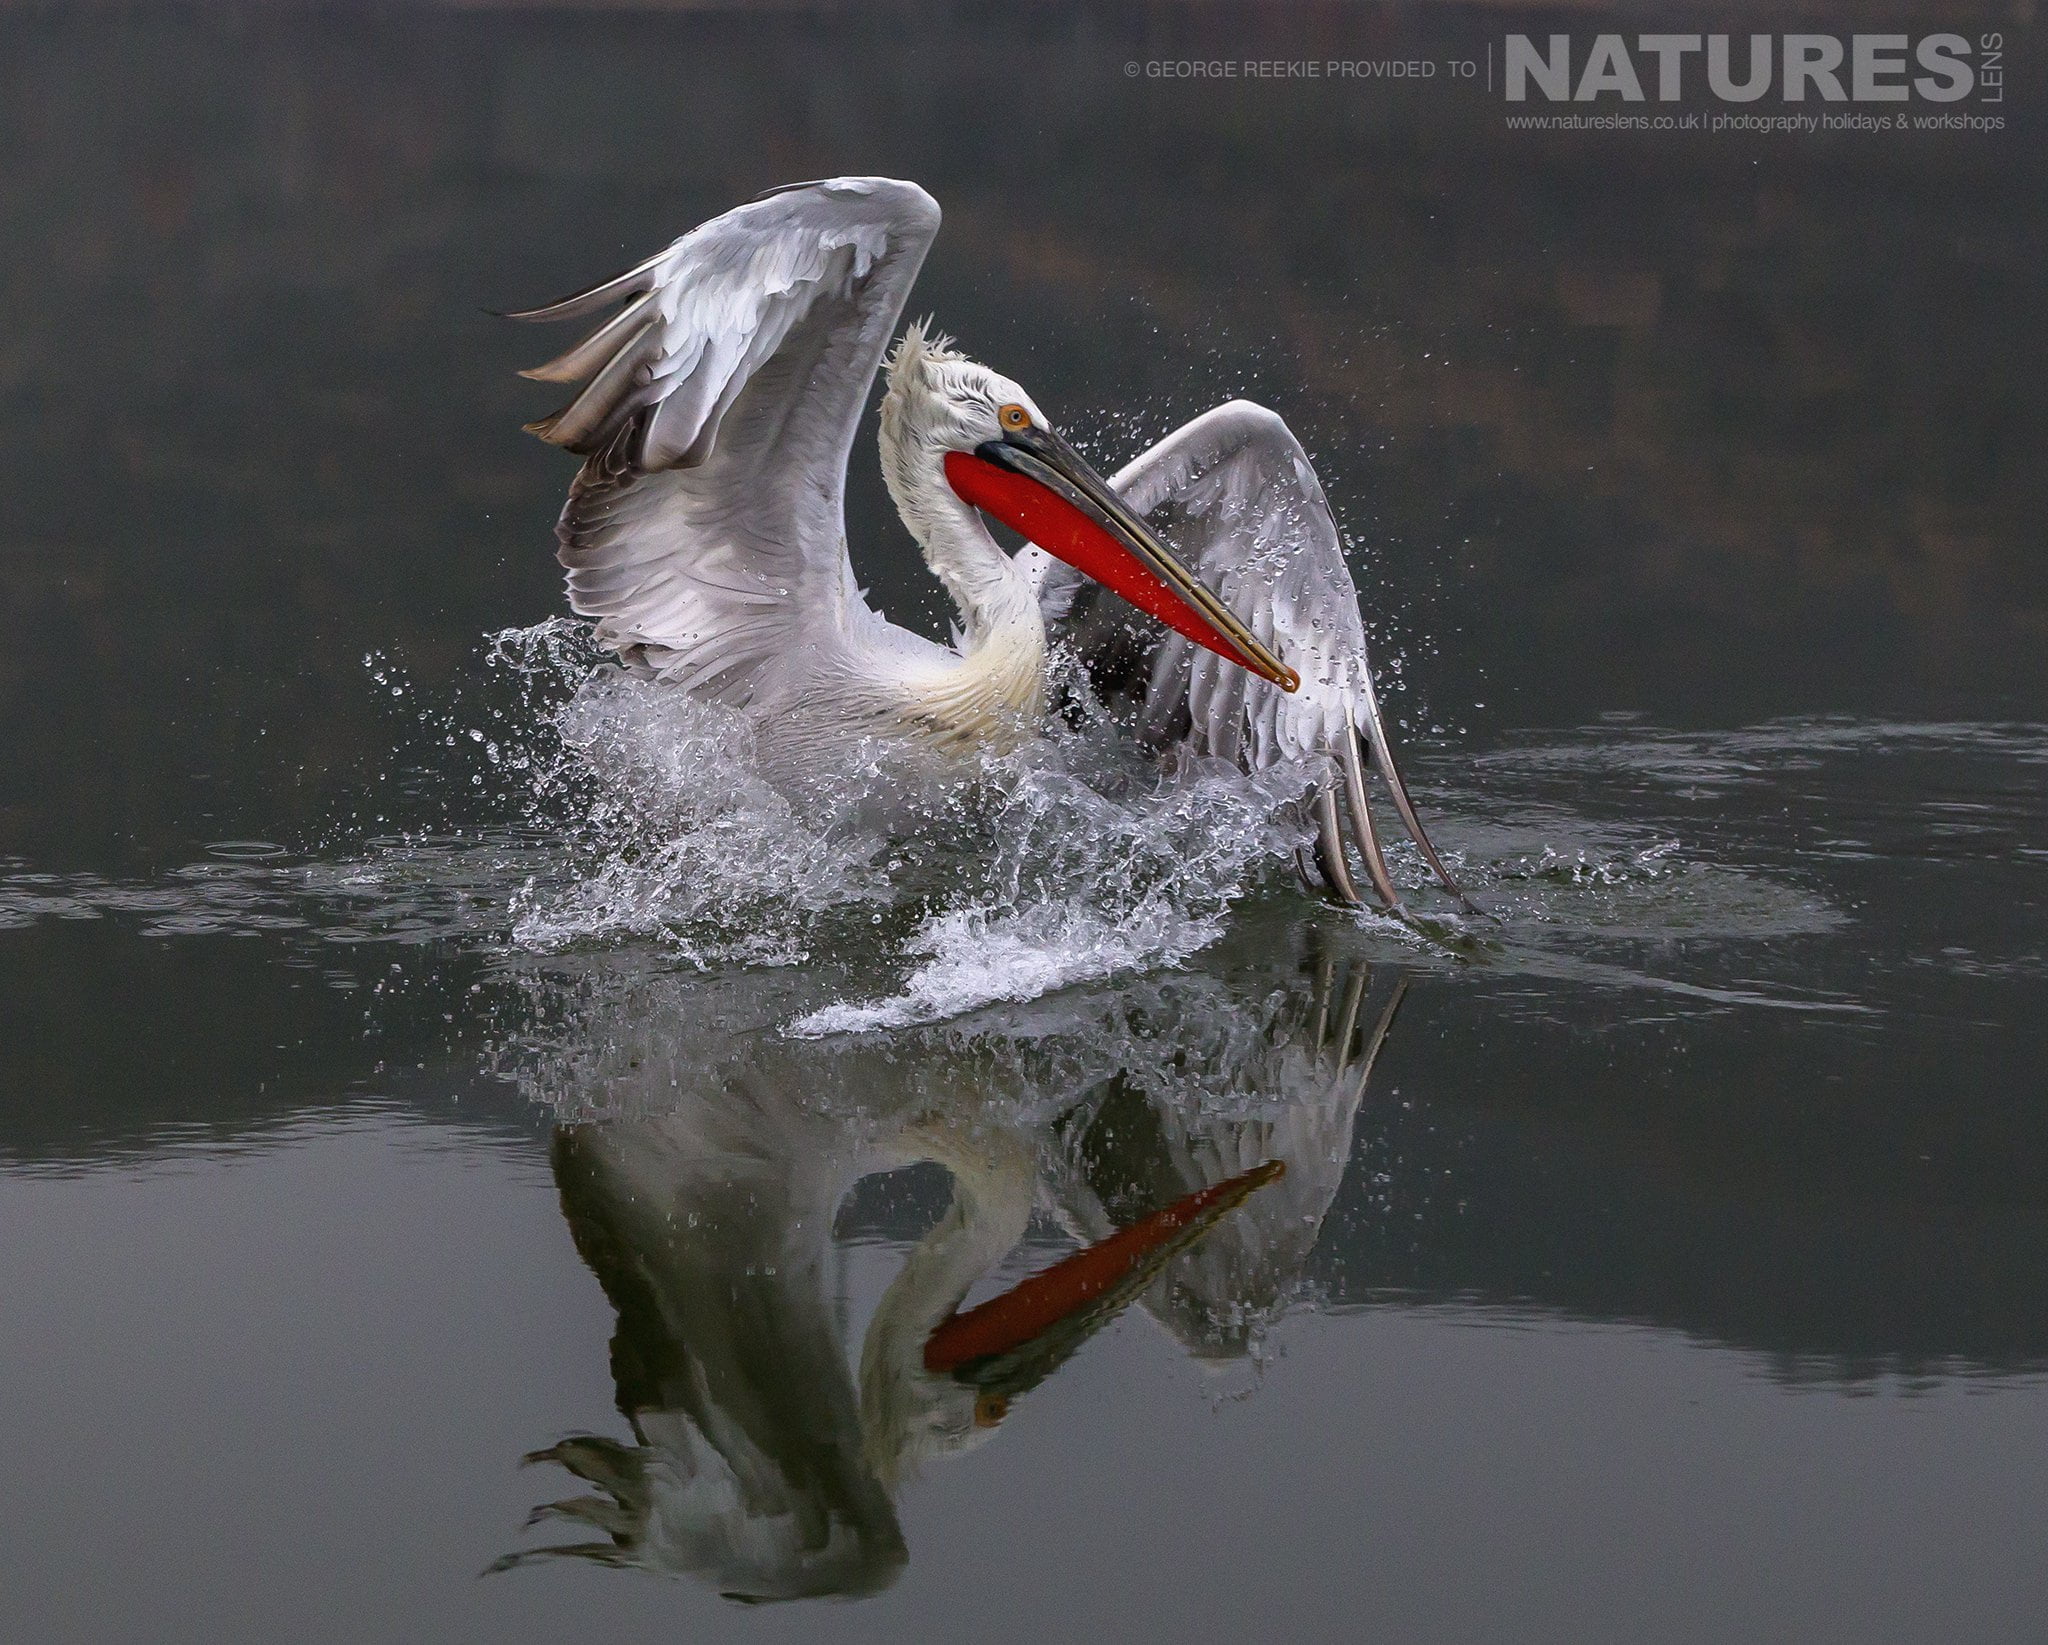
Our Lake Kerkini pelican photography holidays provide a useful example of how varied those decisions can be during the same photographic session. We might be photographing relatively settled pelicans in beautiful morning light before turning our attention to birds approaching across the water, where wing movement, changing distances & the angle of approach all influence the settings I would choose.
I also need to consider what effect I’m trying to produce. There are occasions when deliberately using a slower shutter speed to introduce motion blur creates a more interesting photograph than freezing every feather or detail.
With Manual mode, the shutter speed remains exactly where I set it until I decide to change it. Auto ISO responds to the resulting exposure requirements, allowing me to concentrate on the movement rather than having the camera unexpectedly reduce shutter speed as the light becomes weaker.
How Does Aperture Influence the Images I Can Create?
Once I’ve considered movement, I turn my attention to aperture, because depth of field has an enormous influence on the way a wildlife photograph communicates its subject. I don’t believe there is any single aperture that should be used for a particular species, as the most appropriate choice depends on the subject, its surroundings & the story I want the photograph to tell.
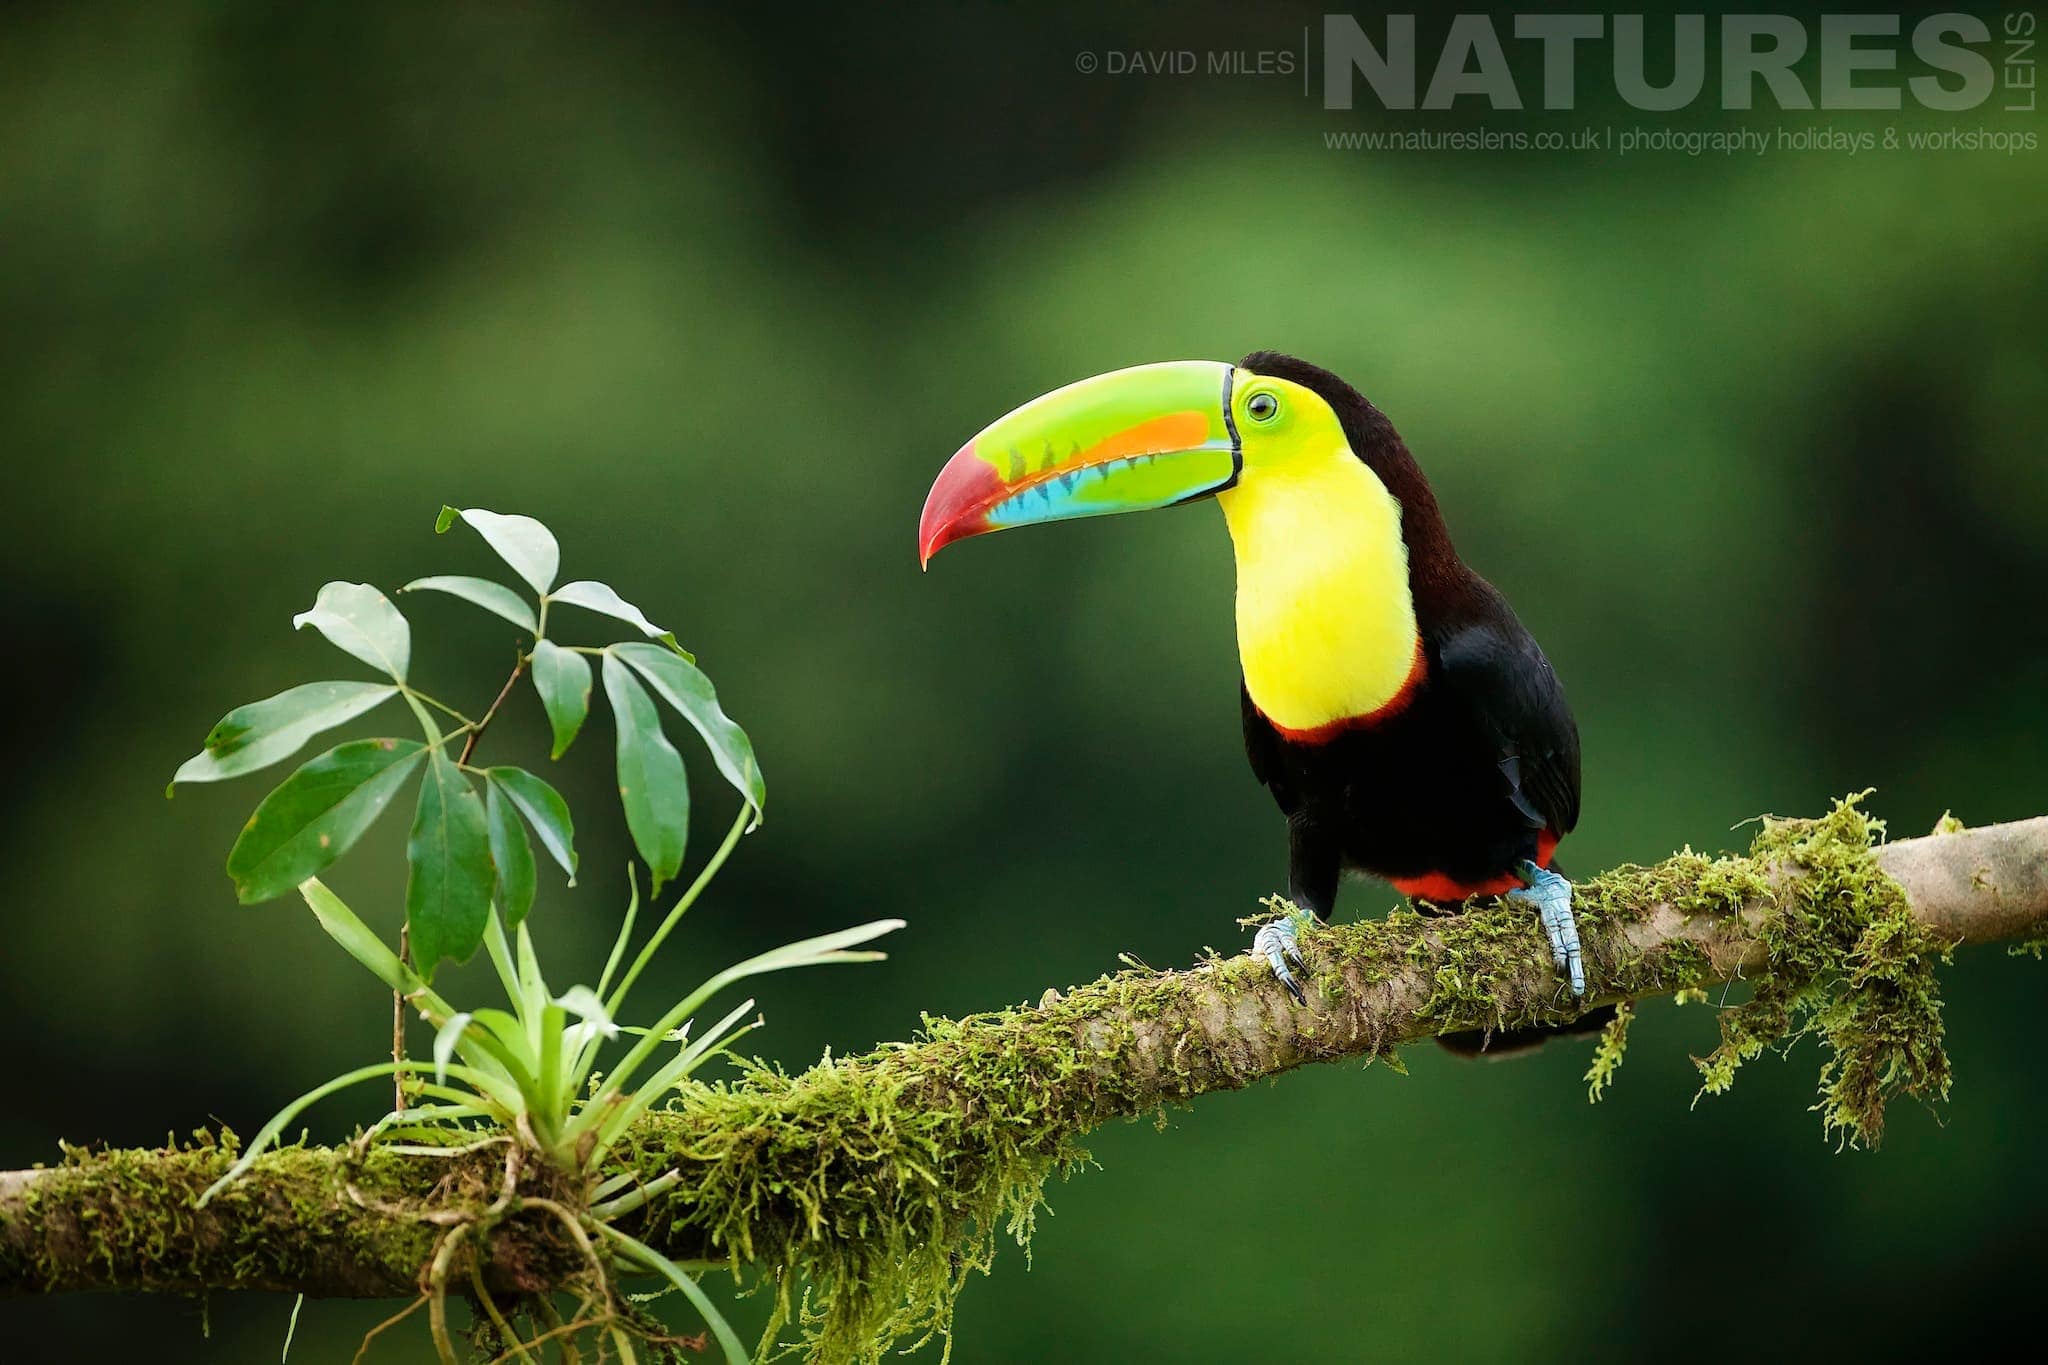
When using my Sony 400mm f/2.8, there are situations where photographing wide open can produce exceptionally attractive subject separation, particularly when the background is some distance behind the animal. A distracting collection of branches or vegetation can become a much softer background, allowing the viewer’s attention to settle naturally on the subject.
However, a wide aperture is not necessarily the answer to every photographic situation. When two animals are interacting, or when photographing a subject with considerable depth, stopping down can make the difference between recording the important parts of the scene sharply & finding that the depth of field was simply too shallow.
I also enjoy environmental wildlife photography, where the habitat deserves to be part of the composition rather than something we attempt to remove. In places such as the rainforests of Costa Rica or the extraordinary landscapes of Patagonia, there are opportunities to make photographs that explain something about where an animal lives, rather than presenting it against an anonymous blurred background.
For those images, I may select f/5.6 or f/8, depending on the focal length, subject distance & the amount of surrounding detail I want to retain. Stopping down, however, means that less light reaches the sensor, so the camera may need to increase ISO to maintain the same shutter speed.
This is where Manual mode with Auto ISO becomes particularly useful. I can make the creative decision about depth of field, see how that affects ISO & decide whether the compromise is worthwhile. It gives me flexibility without surrendering control over the photograph’s appearance.

How Do I Manage Exposure When the Light Keeps Changing?
One of the greatest challenges in wildlife photography is that the light doesn’t remain constant simply because we’ve found an interesting subject. In fact, some of the most rewarding encounters take place in conditions where illumination changes continually, whether beneath a forest canopy, along the edge of woodland or during the first minutes after sunrise.
Consider photographing hummingbirds in Ecuador. Depending on the location & the photographic setup, a bird may move between shaded vegetation, a naturally illuminated flower & a perch receiving brighter light. The difference can be considerable, even though the subject has travelled only a short distance.
If I’ve selected a shutter speed appropriate to the bird’s behaviour & an aperture that provides the depth of field I want, Auto ISO can respond as the illumination changes. I can follow the bird without continually interrupting the sequence to adjust sensitivity.

However, there is an important distinction between the light genuinely changing & the camera’s metering system reacting to a different background. The two can produce similar changes in the ISO displayed in the viewfinder, but they don’t necessarily mean that exposure should change.
A dark bird against a bright sky, for example, may require a different metering adjustment from the same bird against dark vegetation, even when the light falling on the bird itself remains unchanged.
This is why I make regular use of the histogram & exposure compensation. On my Sony cameras, exposure compensation can be used with Auto ISO in Manual mode, allowing me to influence the camera’s calculated exposure without altering the shutter speed or aperture I’ve chosen.
If important subject detail is appearing too dark, I can introduce positive compensation, whereas negative compensation may be appropriate when the camera is making a scene brighter than I want or threatening to lose important highlights.
I regard this as an active process of managing exposure rather than simply accepting whatever the camera selects. Auto ISO handles the routine adjustments, but I remain responsible for judging whether the resulting exposure is appropriate for the photograph.
Why Should You Watch ISO Rather Than Simply Letting the Camera Decide?
Although Auto ISO makes exposure management considerably easier, it introduces the temptation to stop noticing how high the ISO has become. That can be a mistake, particularly when the subject’s behaviour changes & the shutter speed we selected earlier is no longer necessary.
Imagine spending time photographing a bird in flight at 1/3200 second, only for it to settle on a branch in relatively poor light. If I leave the shutter speed unchanged, the camera might increase ISO considerably to maintain exposure, even though I could now use a slower shutter speed without introducing unwanted movement.
Reducing the speed to 1/800 second, for example, provides two additional stops of exposure, potentially allowing the camera to reduce ISO from 6400 to 1600 in the same lighting conditions. That difference may produce a cleaner file with greater flexibility when processing the RAW image.
Modern cameras are exceptionally capable at higher sensitivities, & improvements in noise reduction software have made photographs taken at ISO values that once seemed impractical entirely usable. Nevertheless, there is no reason to use a higher ISO than necessary when a different combination of settings will produce the photograph I want.
I would also caution against becoming so concerned about noise that you compromise the photograph itself. A perfectly clean image suffering from unintended subject movement is often far less useful than a sharp image containing some manageable noise.
This balance is particularly important when using long telephoto lenses, where relatively small movements can become noticeable, even with effective image stabilisation.
The same principle applies when selecting aperture. If I am photographing a single animal in weak light, there may be little benefit in using f/8 when f/2.8 or f/4 would provide sufficient depth of field, particularly if the narrower aperture forces ISO unnecessarily high.
Auto ISO should make us more responsive photographers, not less thoughtful ones. I continually reassess shutter speed, aperture & the ISO being selected, making small changes as the subject, light & photographic opportunity develop.
When Would I Choose Fully Manual ISO Instead?
There are occasions when allowing the camera to adjust ISO automatically is less useful than setting it myself, particularly when the light falling on the subject remains consistent but the background changes significantly.
Birds in flight are an obvious example. A bird travelling across an open sky may suddenly pass in front of a dark hillside or distant woodland. Although the illumination on the bird may remain virtually unchanged, the camera’s metering system can respond to the darker background by increasing ISO.
The result may be a sequence where the exposure of the bird varies unnecessarily from frame to frame.
In those circumstances, I may establish an appropriate exposure for the light falling on the subject, then switch to a fixed ISO while retaining manual control over shutter speed & aperture. Provided the illumination remains consistent, the exposure should remain consistent regardless of whether the background is bright sky, distant vegetation or something in between.

I might use the same approach for certain backlit photographs, silhouettes or deliberately high-key images where I have a very particular interpretation of the scene in mind.
There are also situations where I want identical exposure across a sequence of photographs, perhaps because I am working with a carefully controlled photographic setup or intend to combine several frames during processing.
Understanding the limitations of any automatic exposure system is important, because the camera can only respond to the information its meter receives. It does not necessarily understand which part of the scene I consider important, or whether I deliberately want the final photograph to appear darker or brighter than its calculated exposure.
For me, the decision is not about demonstrating that fully manual exposure is somehow more accomplished than using automation. It is simply about selecting whichever approach provides the greatest control over the result in the conditions I’m photographing.
Will Manual Mode with Auto ISO Make You a Better Wildlife Photographer?
Using Manual mode with Auto ISO won’t automatically improve your photographs, but understanding the relationship between shutter speed, aperture, ISO & exposure can make you far more confident when conditions change unexpectedly.
The greatest benefit, in my experience, comes from developing a camera setup that allows you to react instinctively while continuing to make deliberate photographic decisions. I want to be thinking about where the animal might move, whether the background will complement the subject, how the light is developing & what behaviour I might anticipate next.
Those are the considerations that influence whether a photograph becomes something genuinely memorable.
This is also why our approach at NaturesLens is to allow time with subjects whenever the opportunity warrants it. Photographing the same bird or animal over an extended period often reveals possibilities that simply aren’t apparent during the first few minutes, particularly as the light changes or behaviour develops.
When the camera’s controls have become familiar, I can respond to those opportunities without interrupting the experience to work through exposure settings. I still check my histogram, watch the ISO value & adjust shutter speed or aperture whenever necessary, but the process becomes part of photographing rather than something separate from it.
If you haven’t tried this approach before, I would encourage you to experiment with it somewhere familiar, where you can concentrate on learning how the camera responds without the pressure of an important wildlife encounter.
Once you understand when Auto ISO is helping, when exposure compensation is required & when a fixed ISO might be preferable, you have another valuable technique available for your wildlife photography.
For me, that is the real advantage: not that the camera is doing more of the photography, but that it is handling some of the routine exposure adjustments while I concentrate on making the images I set out to capture.
When you are ready to put it into practice with an experienced wildlife photographer alongside you, our signature trips Pelicans of Lake Kerkini, Ultimate Costa Rican Wildlife, Japanese Wildlife in Winter & Wildlife of Shompole Wilderness all offer the kind of changing light & behaviour I have described here.
Wildlife Photography Camera Settings
- How Can Manual Mode with Auto ISO Improve Your Wildlife Photography?