In my previous article, 10 Wildlife Photography Shortcuts to Improve Your Images, I explored how understanding light, recognising animal behaviour, improving camera familiarity & making more considered decisions in the field can accelerate your development as a wildlife photographer. Those are principles I return to constantly, whether I am photographing wildlife here in the UK or leading a NaturesLens photography holiday somewhere considerably further afield.
However, there are plenty of other lessons I have learned over the years that can make an equally significant difference, particularly once you are reasonably comfortable with your camera & want to move beyond simply producing technically competent photographs.
Some involve relatively small changes in technique, while others concern how you approach an entire photographic session, recognise opportunities that other photographers overlook or develop a more varied collection of images.
For this follow-up, I have chosen another ten shortcuts that I believe are particularly valuable, drawing on the practical realities of photographing wildlife in locations ranging from the wetlands of Greece to the tropical forests of Central & South America.
How Can Focusing on the Eyes & Using Depth of Field Improve Your Wildlife Portraits?
The first shortcut is to treat the eye as the most important point of focus in a wildlife portrait. There are exceptions, particularly with creative compositions, but for most photographs of birds & mammals, a sharply focused eye provides the connection that draws the viewer into the image.
Modern autofocus systems have made this considerably easier than it once was. My Sony A1 II cameras can recognise the eyes of many animal & bird subjects, but I never assume that the camera has selected the correct point simply because a tracking box appears in the viewfinder. Vegetation, overlapping animals, rapid movement & partially obscured faces can all confuse subject recognition.
This is particularly noticeable when photographing small birds in dense rainforest habitat. A camera may identify the nearest leaf, the bird’s body or even a pattern in the surrounding vegetation rather than the eye. Knowing when to override the automatic system, move the focus point or wait for a clearer view is still essential.

My second shortcut is to choose your aperture according to the depth of field your subject actually needs, rather than automatically using the widest aperture available.
I love photographing with a 400mm f/2.8 lens, particularly where the light is limited, but f/2.8 is not always the best choice. When photographing a bird with a relatively long bill, for example, using a very wide aperture at close range can leave the eye beautifully sharp while the tip of the bill falls noticeably out of focus.
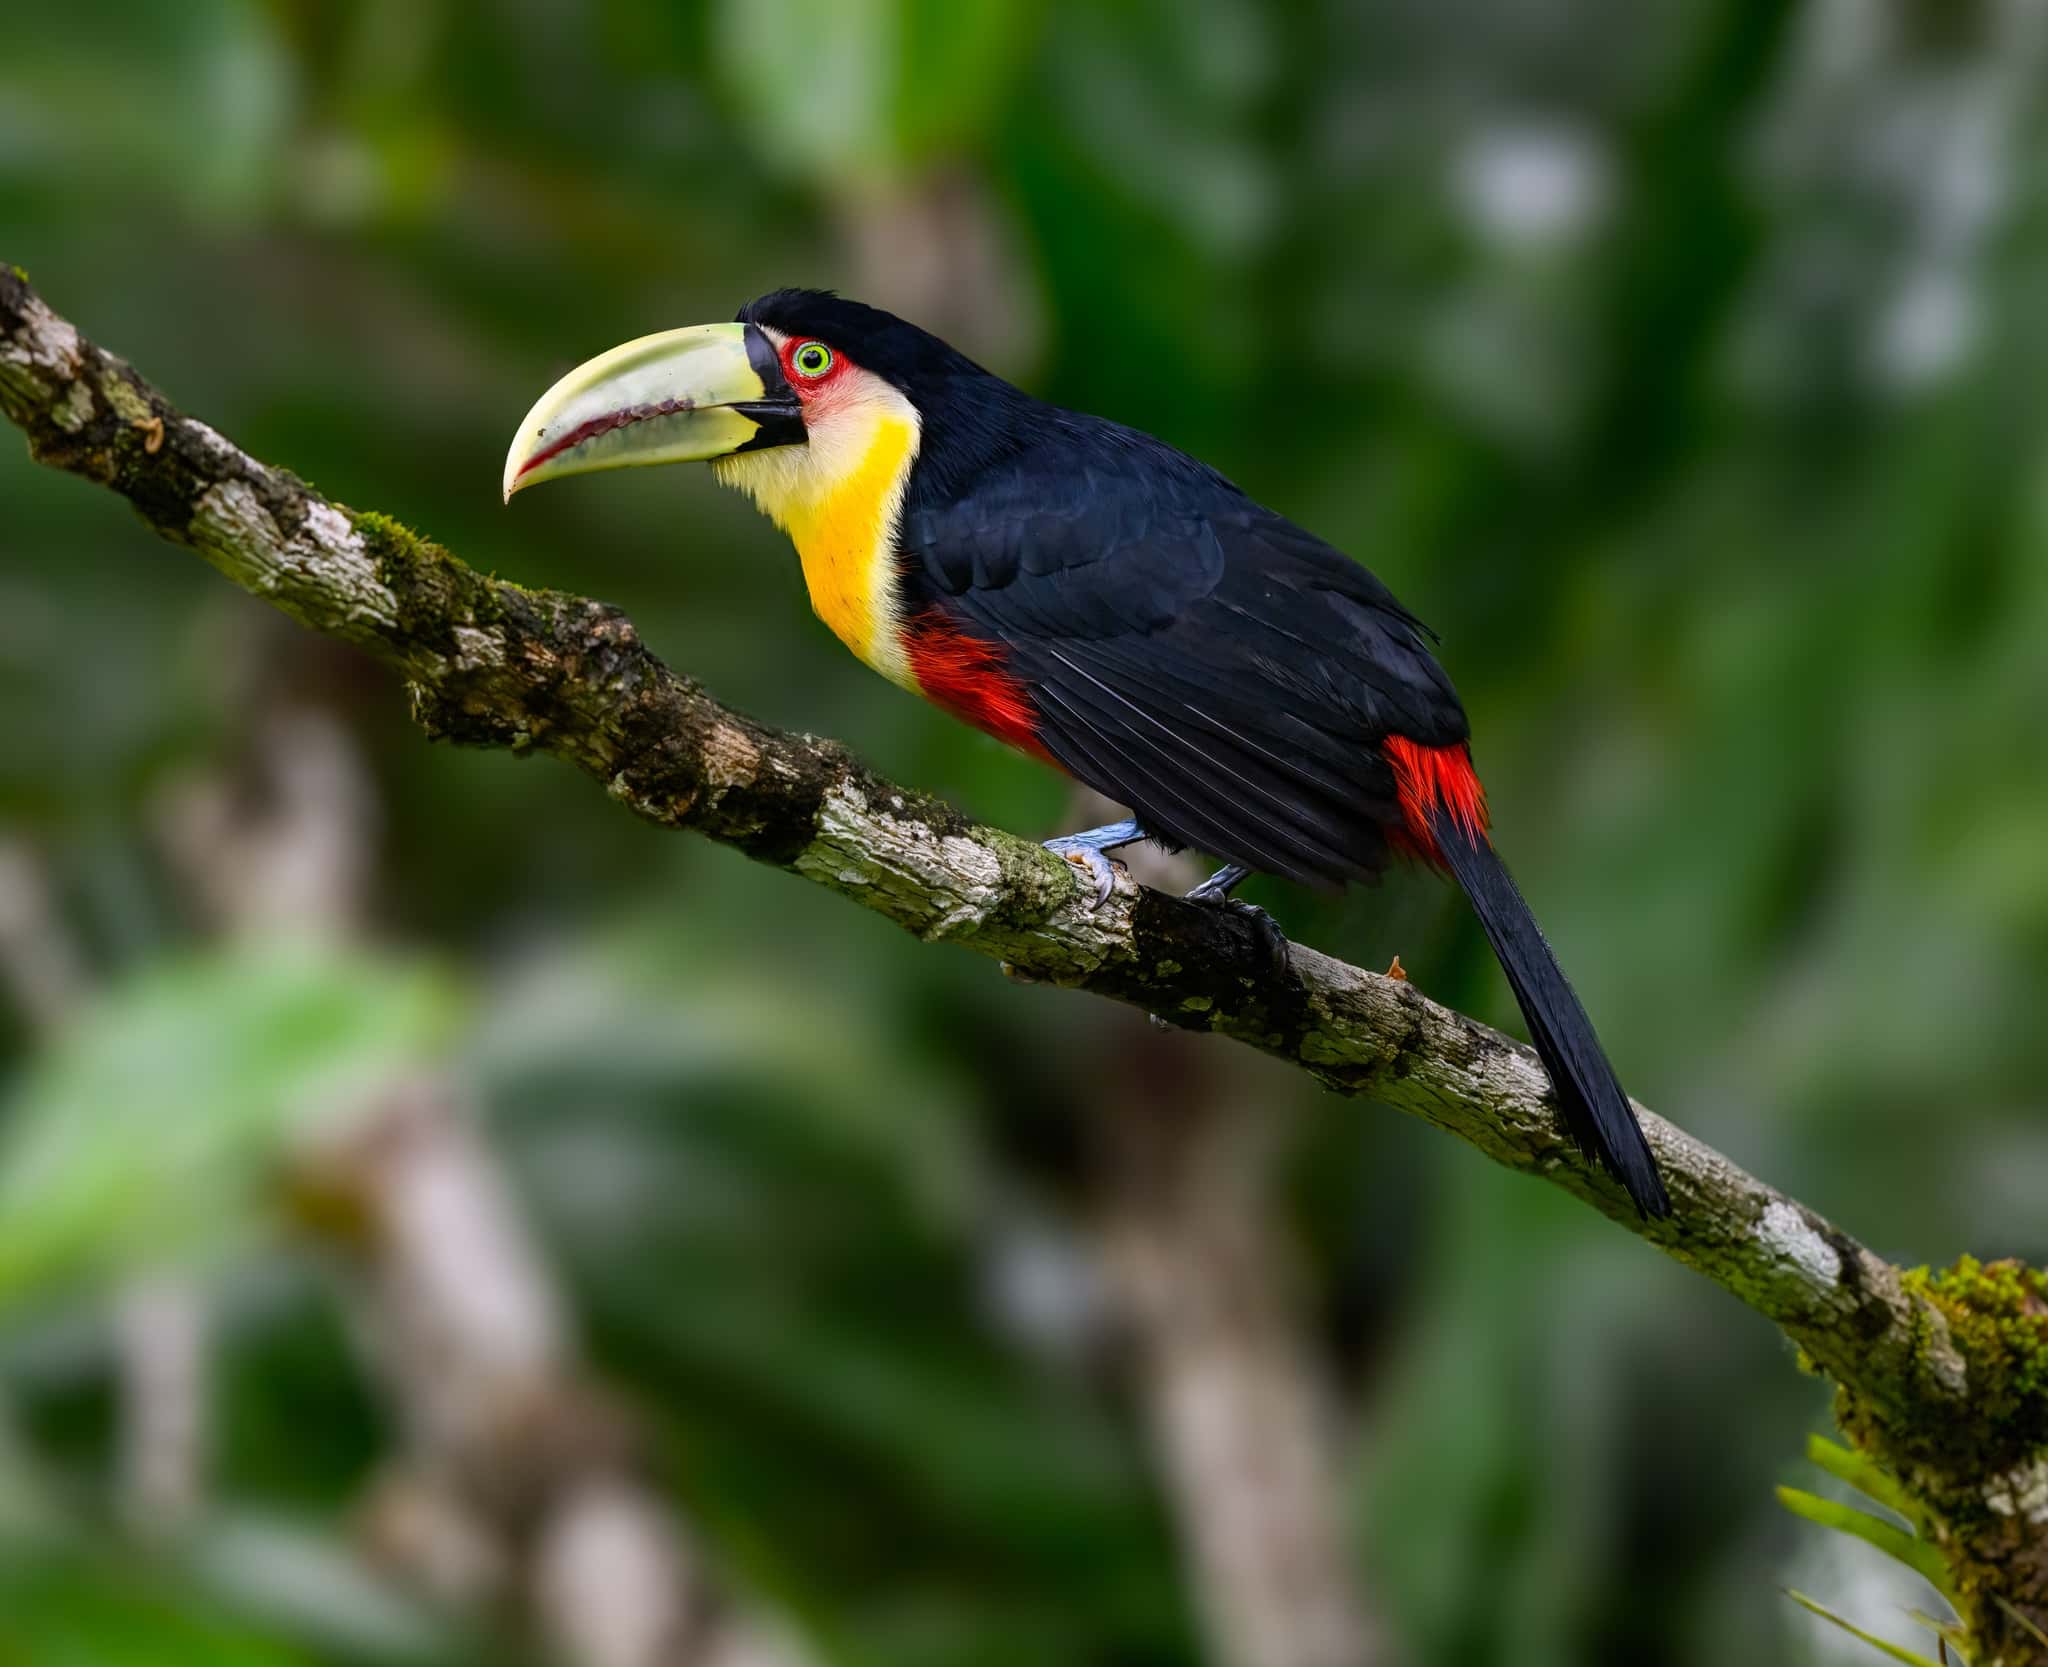
The same applies to animals photographed at an angle, where one eye may be considerably further from the camera than the other.
Stopping down to f/4, f/5.6 or even f/8 can produce a much stronger result when sufficient light is available. Of course, that decision must be balanced against shutter speed, ISO & the distance between the subject & background.
The important lesson is that depth of field should be an intentional creative decision, not merely a consequence of using an expensive fast lens.
Why Should You Photograph the Action Before & After the Moment You Expect?
The third shortcut is to begin photographing before the anticipated peak of an action & continue beyond it. Wildlife rarely performs to a photographer’s timetable, & the image you expected to capture is not necessarily the strongest frame in the sequence.
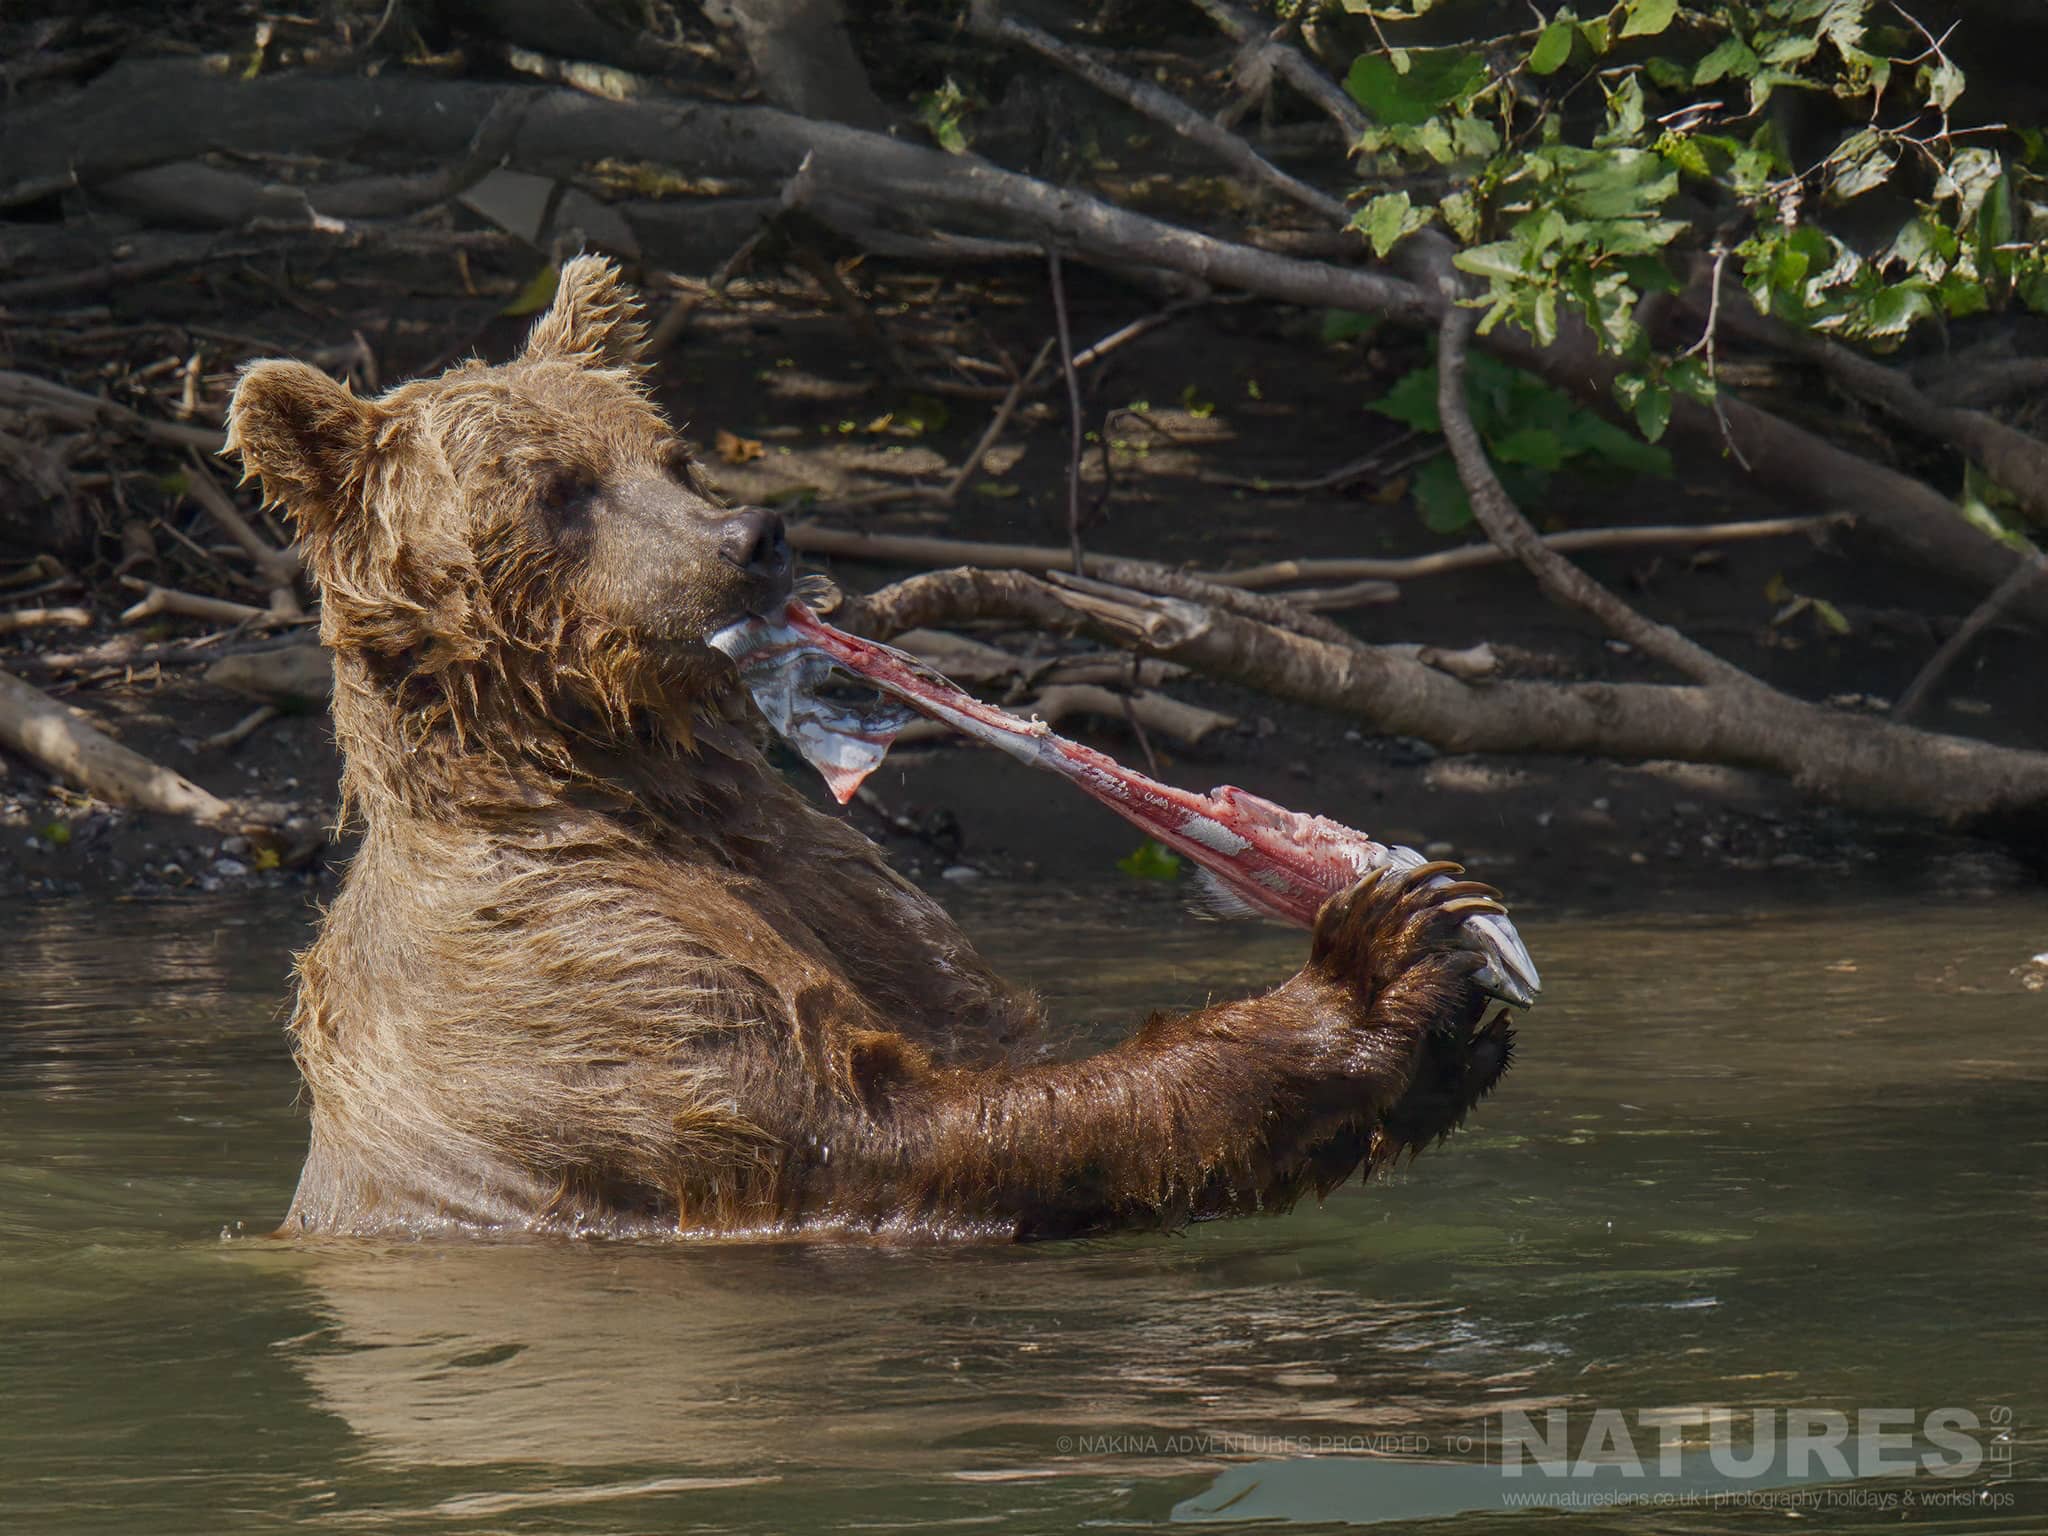
When photographing Brown Bears fishing, for example, it is tempting to concentrate entirely on the instant a bear catches a fish. That can certainly produce an impressive photograph, but the approach, the movement through the water, the moment of concentration before striking & the behaviour immediately afterwards can be equally rewarding.
The same principle applies to birds. A Dalmatian Pelican approaching the water may produce a beautiful sequence as its wings change position, its feet extend & its reflection becomes visible. If you only begin photographing at the point of landing, several interesting opportunities may already have disappeared.

My fourth shortcut is to use continuous shooting intelligently rather than assuming the highest frame rate is always necessary.
Modern cameras can produce enormous sequences in a remarkably short time. There are situations where this is genuinely useful, particularly fast wing movements, interactions between animals or extremely brief behaviour. However, constantly using the maximum available frame rate can generate thousands of near-identical photographs, making the editing process unnecessarily time-consuming.
I prefer to adjust the frame rate according to the behaviour. A bird sitting quietly on a perch rarely needs the same shooting speed as a diving Kingfisher or an eagle approaching at speed.

There is also value in learning to recognise the visual signals that precede movement. A bird leaning forward, changing its posture or briefly looking towards a potential destination may indicate that it is preparing to take flight.
Once you begin recognising those clues, continuous shooting becomes a deliberate way of recording an anticipated sequence rather than an attempt to compensate for not knowing what might happen next.
How Can Better Camera Support & Shutter Speed Choices Help You Produce Sharper Images?
My fifth shortcut is to match your shutter speed to the movement you are trying to record, rather than relying on one setting for every wildlife encounter. Although faster shutter speeds can help freeze movement, they are not automatically the best choice, particularly when light is limited or you want to introduce a sense of motion.
A relatively stationary bird might be photographed successfully at 1/250 second or slower with good technique, while a small bird in rapid flight may require 1/2500 second or more. These are starting points rather than fixed rules, since focal length, subject movement, camera stability & the amount of detail required all influence the result.
Hummingbirds provide a particularly interesting example. On our photography holidays in Ecuador, we work with subjects whose wings move extraordinarily quickly. In natural light, a fast shutter speed can capture more wing detail, although you may still see some movement. Where suitable specialist flash setups are used, extremely short flash durations can freeze movements that would be difficult to capture using ambient light alone.

There are also occasions when I deliberately choose a slower shutter speed. Photographing a bird flying across a relatively uniform background using a panning technique can produce a sense of movement that a completely frozen photograph might lack.
The sixth shortcut is to choose the most appropriate method of supporting your camera for the circumstances. This does not necessarily mean carrying a tripod everywhere.
For long sessions in a hide, a properly adjusted tripod head can reduce fatigue while allowing precise, controlled movement. From a vehicle, a beanbag may provide a more practical solution, while photographing from a moving boat often requires a different approach altogether.
I have spent plenty of time working with long telephoto lenses, & one lesson is that even small amounts of unnecessary tension in your arms, shoulders or grip can make maintaining a consistent composition more difficult.
Image stabilisation is extremely useful, but it cannot freeze a moving animal. Nor can it eliminate every form of camera movement, particularly when photographing from a vibrating platform. Understanding what stabilisation can & cannot do helps you avoid relying on it in situations where an appropriate shutter speed remains essential.
The objective is to make the camera as stable & responsive as possible without allowing the equipment to interfere with the experience of photographing the wildlife.
How Can Negative Space & Environmental Details Make Wildlife Images More Interesting?
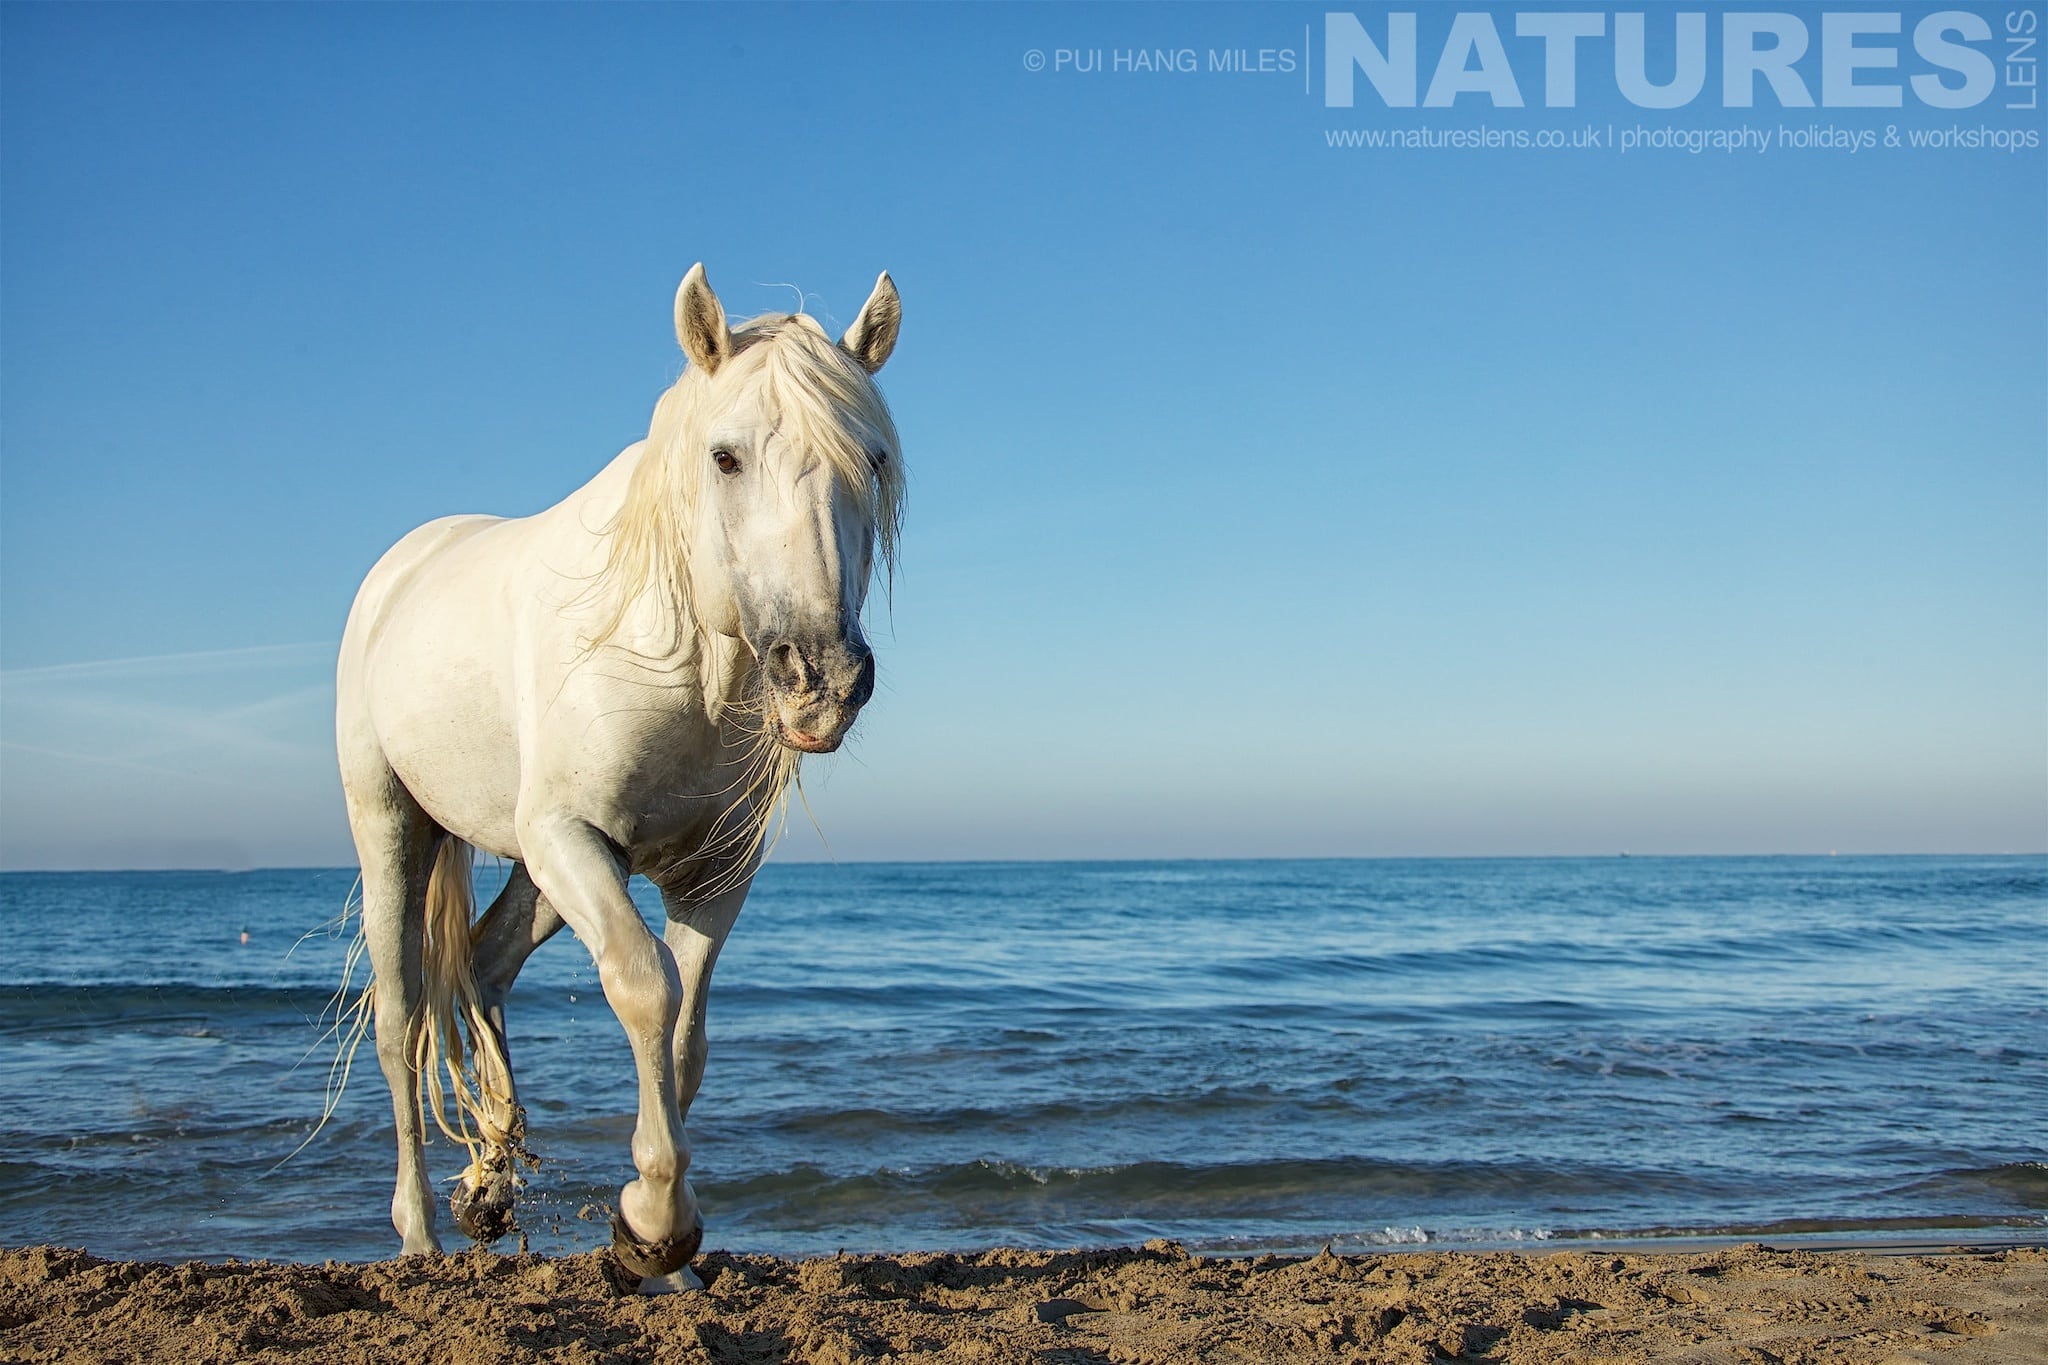
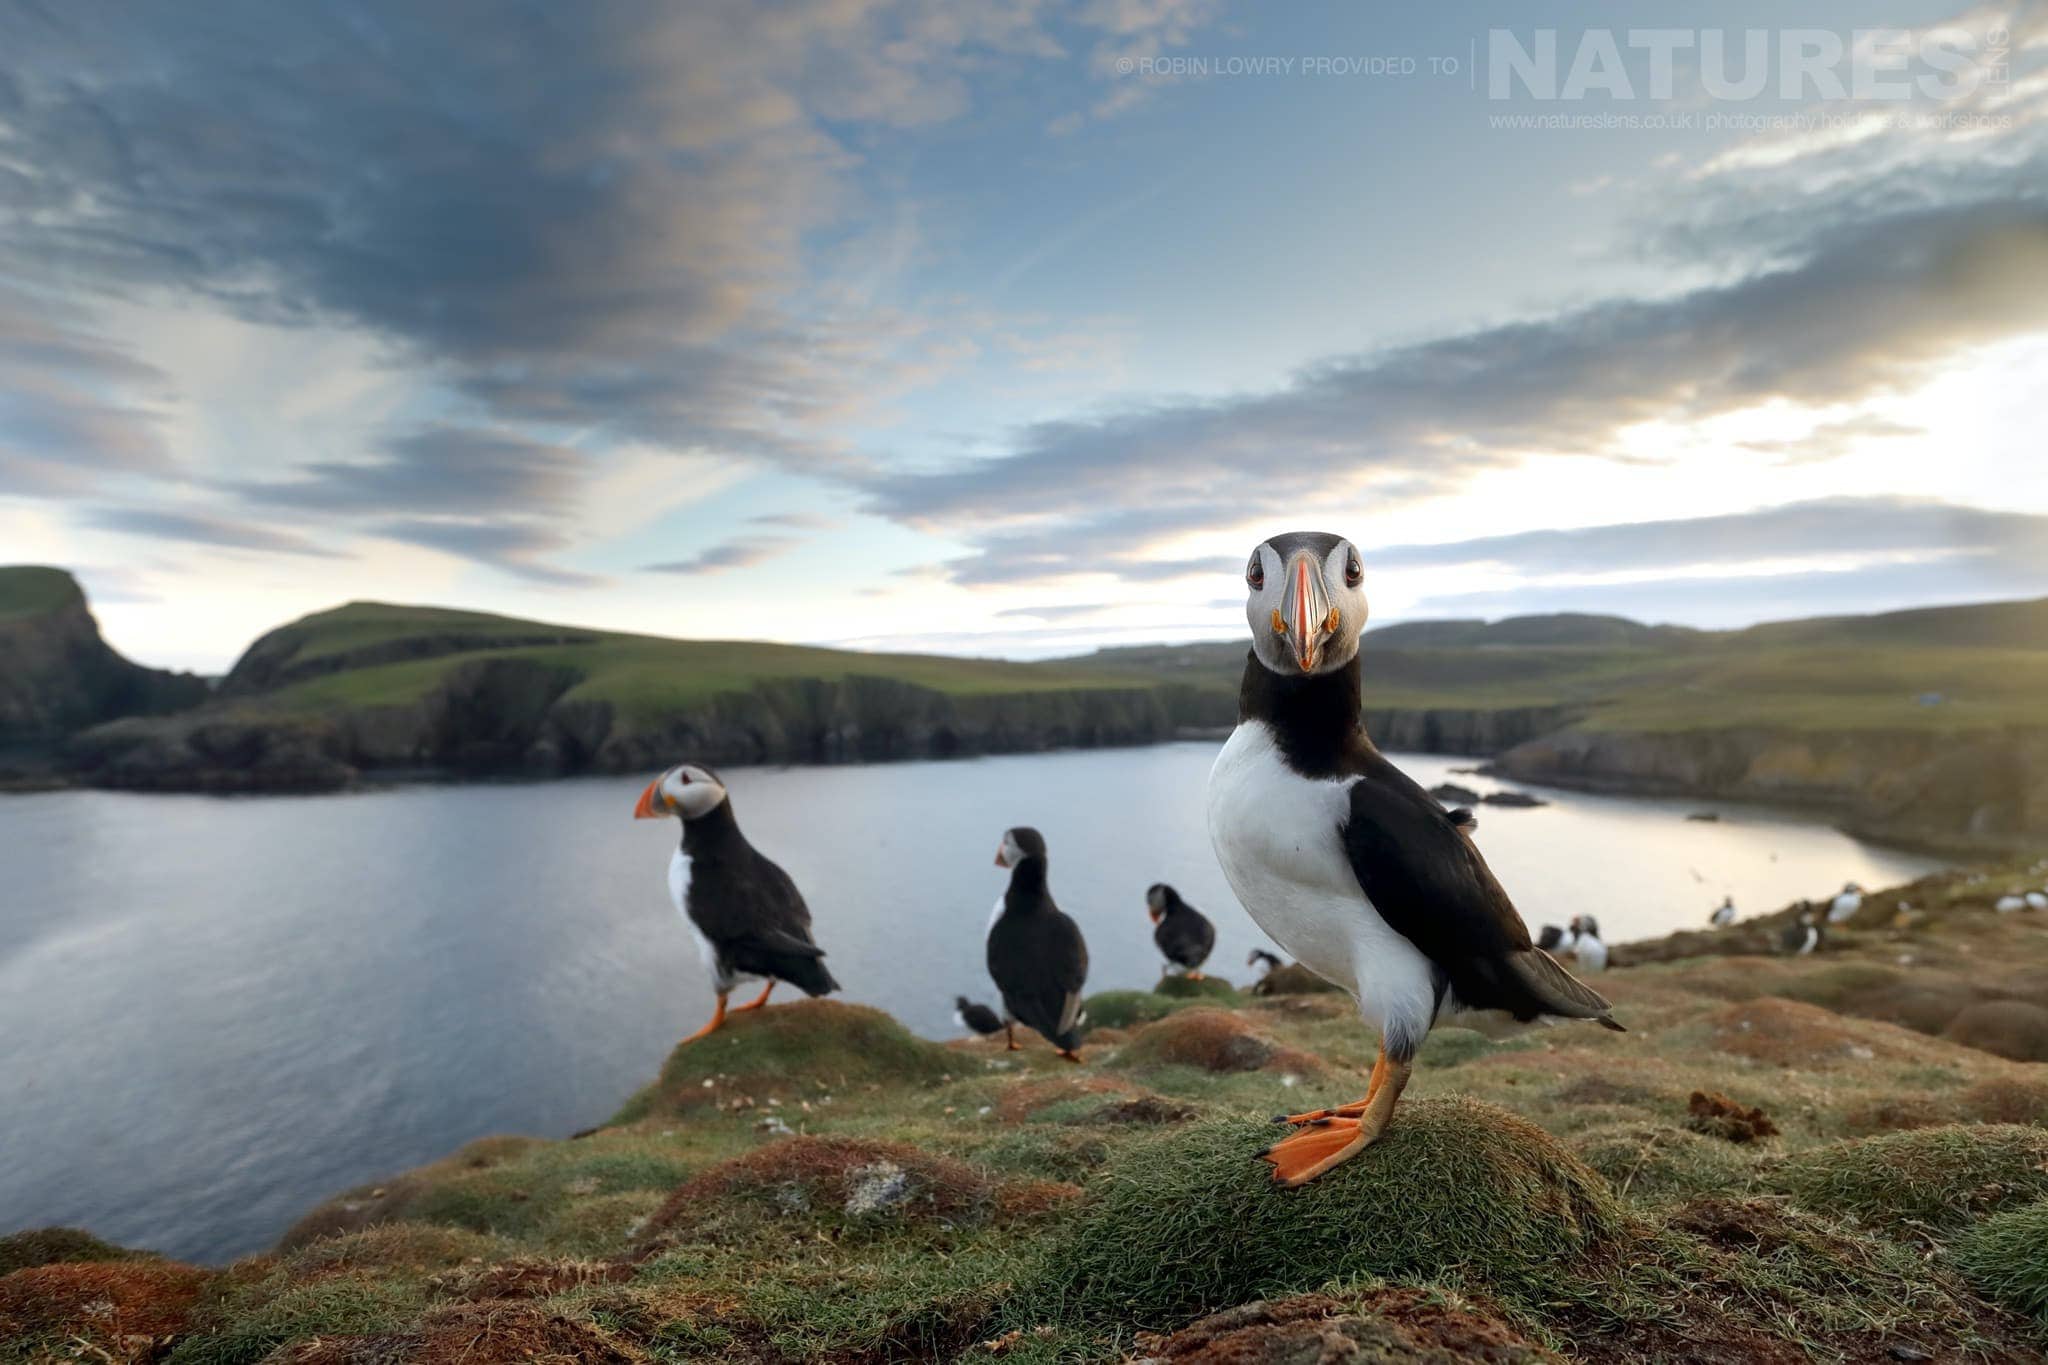
The seventh shortcut is to give your subject room within the composition when that space contributes to the photograph. Wildlife photographers naturally gravitate towards tight portraits, particularly when they have invested in a long telephoto lens, but leaving areas of sky, water, snow or vegetation around a subject can produce a more considered image.
Negative space is particularly effective when it suggests movement or communicates the scale of the environment. A bird flying towards one side of the frame may benefit from space in front of it, while a lone animal surrounded by a large, uncluttered landscape can create a sense of isolation or tranquillity.
Our Dalmatian Pelicans of Lake Kerkini photography holiday provides opportunities to explore this approach. Photographing pelicans against the open water & distant mountains allows photographers to experiment with images where the bird occupies only a relatively small portion of the frame.

I find that these photographs often sit particularly well alongside tighter portraits because they provide visual variety without requiring a different species.
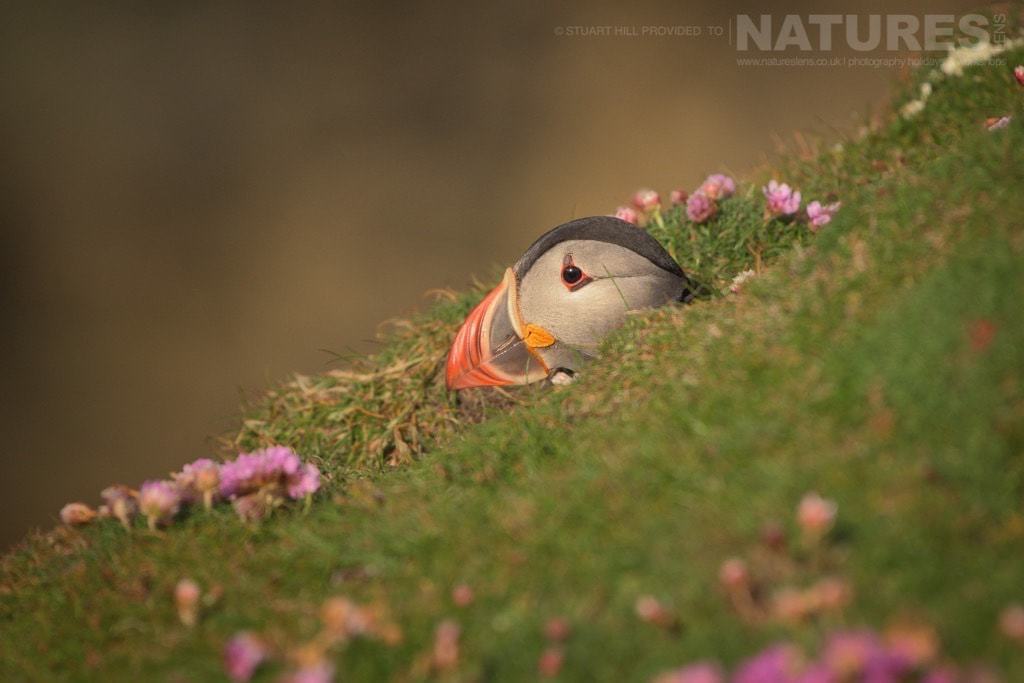
My eighth shortcut is to look for the smaller details that communicate something about the animal or its surroundings. Not every successful wildlife photograph needs to show the entire subject.
The texture of a bear’s wet fur, the extraordinary structure of a bird’s feathers, the feet of a Red-crowned Crane standing in fresh snow or droplets of rain collecting on a tropical leaf can all make interesting photographs.
When photographing wildlife in Costa Rica, for example, I am frequently drawn to details that might initially seem insignificant. A frog’s eye, the delicate structure of a hummingbird’s feathers or the way moisture collects on surrounding vegetation can communicate the character of the rainforest just as effectively as a more conventional portrait.

The challenge is to recognise which details have enough visual interest to work independently. Simply cropping tightly does not necessarily create a successful photograph; there still needs to be a strong relationship between shape, colour, texture & composition.
By deliberately looking for environmental images, intimate portraits & close-up details during the same session, you can build a much more varied portfolio without constantly searching for additional subjects.
Why Can Better File Management & More Selective Editing Improve Your Photography?
The ninth shortcut is to photograph in RAW & learn to make the most of the information your camera records. I would encourage anyone serious about wildlife photography to become comfortable working with RAW files, particularly when dealing with difficult lighting conditions.
A RAW file generally provides considerably more flexibility than a camera-generated JPEG when adjusting white balance, recovering usable highlight or shadow detail & refining the tonal balance of an image. It cannot rescue every exposure mistake, of course, & severely clipped highlights or a completely out-of-focus subject are unlikely to be recoverable.
However, the ability to make careful adjustments afterwards can be particularly valuable when photographing white birds in strong sunlight, dark mammals against bright backgrounds or subjects beneath a tropical rainforest canopy.
I prefer an approach to processing that retains the natural character of the wildlife & the conditions in which it was photographed. There is nothing wrong with using modern editing software to refine an image, but I believe the photograph should remain an honest representation of the encounter.
My tenth shortcut is to be more selective about which photographs you retain, edit & ultimately share.
It is remarkably easy to return from a productive wildlife photography holiday with tens of thousands of files, particularly when working with a camera capable of very high frame rates. The difficulty is that an enormous volume of photographs can disguise the genuinely successful images within the collection.
I encourage photographers to assess their work beyond basic sharpness. When comparing several frames from the same sequence, look closely at head position, expression, wing placement, eye contact, distracting elements & the overall balance of the composition.
Two technically similar photographs can have very different levels of impact because of a subtle change in posture or the position of an animal’s head.
Developing a consistent editing process also helps identify patterns in your own photography. Perhaps you regularly crop too tightly, overlook environmental opportunities or favour certain compositions at the expense of variety.
Recognising those tendencies means that your time spent reviewing images becomes part of your photographic development, rather than simply an administrative task after returning home.
Which of These Wildlife Photography Shortcuts Will Make the Greatest Difference?
One of the most rewarding aspects of wildlife photography is that there is always something new to learn. Even after years of photographing animals in very different environments, I regularly encounter situations that make me reconsider an approach, experiment with a technique or recognise a photographic opportunity I might previously have overlooked.
What connects these ten additional shortcuts is the importance of being deliberate about the entire photographic process. Accurate focusing, appropriate depth of field, intelligent use of continuous shooting & effective camera support all contribute to technical consistency, while creative composition, attention to detail & thoughtful editing help turn technically successful photographs into images with genuine visual impact.
I also believe that photographers benefit enormously from returning to familiar subjects with a particular objective in mind. Rather than attempting to improve everything simultaneously, try concentrating on one or two techniques during your next session. You might decide to experiment with slower shutter speeds, deliberately produce more environmental compositions or challenge yourself to capture a complete behavioural sequence rather than a single dramatic moment.
This approach is central to how we operate NaturesLens photography holidays. By keeping our groups small, providing experienced guidance & prioritising extended photographic opportunities over simply visiting as many locations as possible, we give photographers the time to experiment, make mistakes, refine their technique & see the results for themselves.
Ultimately, improvement comes from understanding what you are trying to achieve, recognising what prevents you from achieving it & making increasingly confident decisions in the field. The more familiar these techniques become, the less attention you need to devote to the mechanics of photography, leaving you free to concentrate on the extraordinary wildlife in front of your lens.
That, for me, is where wildlife photography becomes most enjoyable.
Related Reading
Photography Tips From Our Guides
- Composition in Wildlife Photography - From Record Shot to Portfolio Image
- 10 Shortcuts to Accelerate Your Wildlife Photography
- 10 More Wildlife Photography Shortcuts That Will Improve Your Images