
Macro photography has a reputation for being one of the more technically demanding areas of wildlife photography, particularly when you start looking at the elaborate lighting arrangements, specialist diffusers, focus-stacking techniques & other equipment that some photographers use to produce their images. While all these techniques have their place, I’ve always felt that there is a danger of making macro photography appear considerably more complicated than it needs to be.
The reality is that you can produce excellent close-up photographs of insects, butterflies, frogs, reptiles & countless other small subjects using relatively straightforward equipment, natural light & a single exposure. You don’t necessarily need a flash, a diffuser or a series of photographs combined in specialist software.
What matters far more is understanding how focus, aperture, shutter speed & ISO interact when you’re working at very close distances, together with recognising how even the smallest movement can influence the final photograph.
At NaturesLens, we encounter these challenges regularly when photographing smaller wildlife, particularly in places such as Costa Rica & Bulgaria, where opportunities can range from tiny rainforest frogs to butterflies resting amongst meadow vegetation.

Why Is Focusing So Critical When Taking Macro Photographs?
Focusing is probably the single most important aspect of successful macro photography, largely because the depth of field becomes remarkably shallow as you move closer to your subject. At higher magnifications, the area that appears acceptably sharp can be measured in just a few millimetres, sometimes considerably less, which means that placing the focus point slightly incorrectly can ruin an otherwise promising photograph.
My preference when photographing relatively stationary macro subjects is often to use manual focus, particularly when the subject is surrounded by vegetation or when I want to be absolutely precise about which part of the animal appears sharp. Modern autofocus systems are extraordinarily capable, but even the most sophisticated camera cannot always know exactly where you intended to focus, especially when photographing something as small as a frog’s eye through several overlapping leaves.
Where the camera allows it, I find focus magnification particularly useful. By enlarging a small section of the image in the electronic viewfinder, you can examine the important details much more closely before taking the photograph. Focus peaking is another valuable aid, highlighting areas of contrast that appear sharp, although it is worth remembering that peaking is only an indication of focus rather than an absolute guarantee of sharpness.
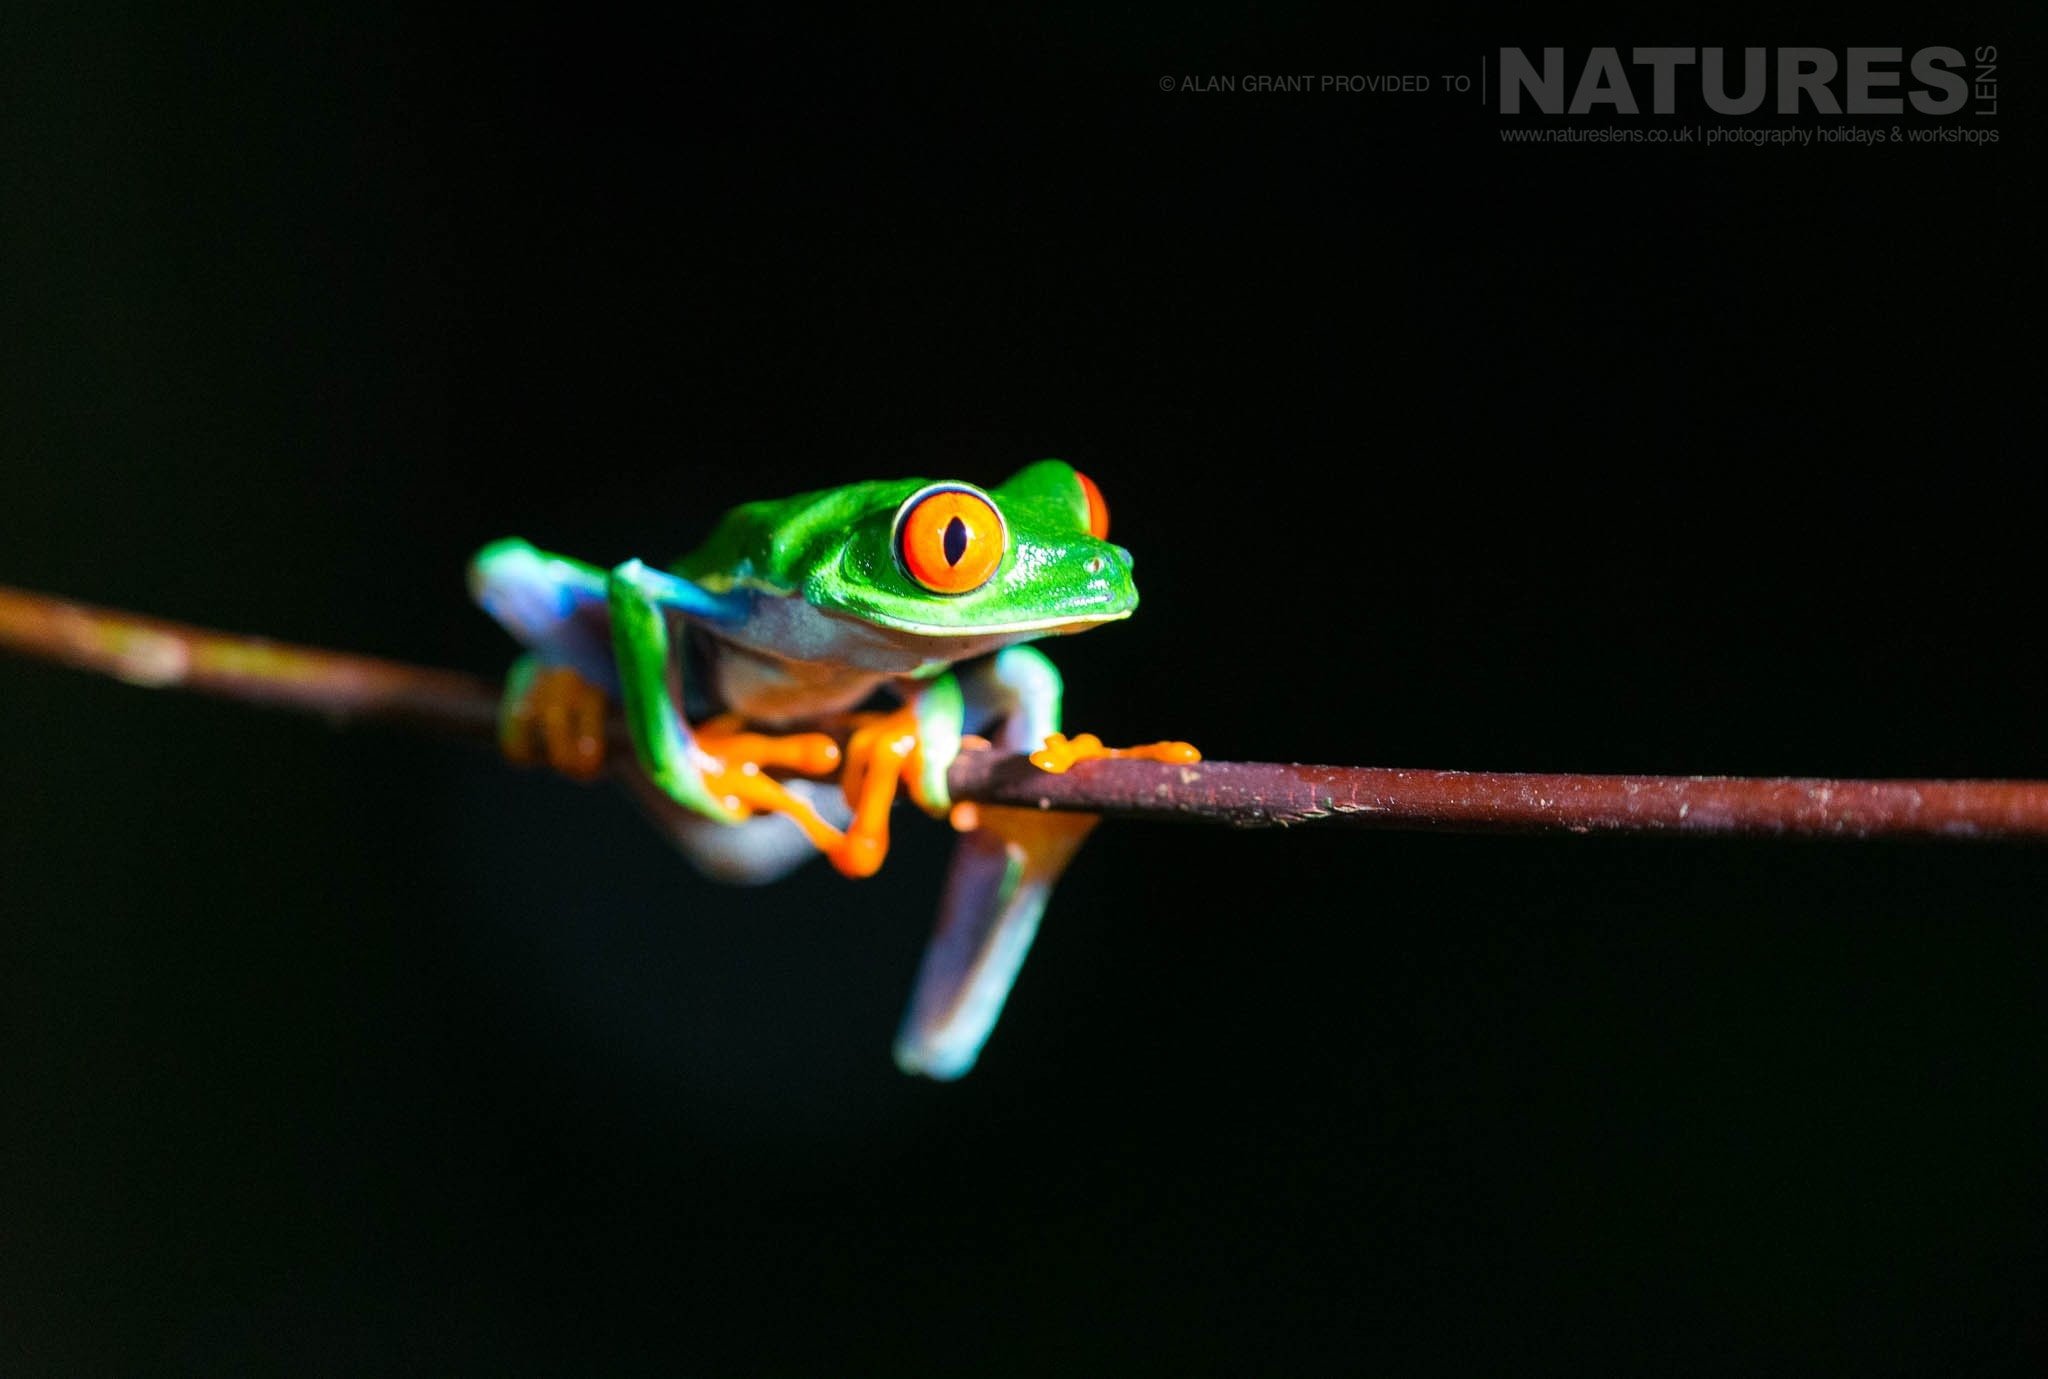
For most wildlife subjects, I would normally prioritise the nearest visible eye. There are exceptions, particularly when photographing intricate wing patterns, textures or other details, but an animal’s eye is generally where the viewer’s attention naturally settles.
One technique worth practising is setting the lens to approximately the correct focusing distance & then making tiny adjustments to your position rather than continually turning the focusing ring. With a cooperative subject, moving your camera forwards or backwards by a fraction can be enough to bring the eye into sharp focus.
Of course, manual focus isn’t always the best answer. For active insects or rapidly moving subjects, autofocus can be considerably more practical. The important thing is choosing whichever method gives you the greatest control over the intended focal point.
What Aperture Should You Use for Single-Shot Macro Photography?
Aperture selection becomes particularly important when you’re photographing small subjects because depth of field decreases dramatically at close focusing distances. An aperture that provides plenty of sharpness when photographing a bird several metres away may produce only a narrow band of focus when the lens is positioned close to an insect.
This is why I would encourage photographers to experiment with smaller apertures than they might ordinarily use for wildlife photography.
For a single-exposure macro photograph, f/8, f/9 or f/11 can provide a useful starting point, with f/13 sometimes worthwhile when additional depth of field is particularly important. These settings won’t magically bring the entire subject into focus, particularly at high magnifications, but they can make a substantial difference to how much detail is recorded.
Consider photographing a small frog at close range. At f/2.8, you might find that the nearest eye is beautifully sharp while much of the head has already fallen outside the depth of field. Closing the aperture to f/8 or f/11 could bring considerably more of the face into acceptable focus, producing a photograph that feels more complete.

There is, however, a compromise. As the aperture becomes smaller, diffraction gradually reduces fine detail, so continually selecting the smallest aperture available isn’t necessarily the best solution. In practice, I would rather have the important parts of the subject acceptably sharp at f/11 than achieve marginally better theoretical lens sharpness at f/4 while losing most of the animal to insufficient depth of field.
Another consideration is the angle from which you photograph your subject. If a butterfly is resting with its wings open, positioning the camera so that the sensor is approximately parallel to the wing surfaces can make a tremendous difference to the amount of detail captured.
Often, improving your position achieves more than changing the aperture, which is one of the reasons I regard fieldcraft & composition as inseparable from the technical side of macro photography.

How Fast Should Your Shutter Speed Be for Handheld Macro Photography?
Shutter speed presents another challenge because movements that would be relatively insignificant in conventional wildlife photography become much more noticeable at higher magnifications.
When you’re photographing a small insect at close range, even the movement caused by gently swaying backwards & forwards can shift the plane of focus away from the area you intended to photograph. A faster shutter speed helps minimise blur caused by camera movement, although it cannot compensate for the camera moving out of the correct focusing distance before the exposure is taken.
For handheld macro work, I would often consider 1/250 second a reasonable starting point with a stationary subject, increasing to 1/500 or 1/1000 second when photographing insects that are moving or when conditions make it difficult to hold the camera steadily. These are guidelines rather than fixed rules, because the appropriate speed depends on magnification, focal length, stabilisation, subject movement & how securely you’re supporting the camera.
One difficulty that people sometimes overlook is the movement of the vegetation supporting the subject. A butterfly may be perfectly motionless, but if its perch is being blown about by a breeze, the entire animal is moving in relation to the camera.

This is a familiar challenge when photographing butterflies in open meadows, where even fairly gentle winds can make precise focusing frustrating. Sometimes the most productive approach is simply to watch the vegetation, anticipate the brief pauses between gusts & release the shutter when the subject settles.
I also encourage photographers to think about their own stability. Supporting the camera against a knee, bracing an elbow or adopting a comfortable seated position can all help reduce unwanted movement.
Image stabilisation is useful, but it doesn’t freeze a moving insect or a windblown flower. Equally, an exceptionally fast shutter speed cannot rescue a photograph if the intended focal point has moved outside the depth of field.
Successful handheld macro photography comes from managing both problems together.
Should You Increase ISO When Photographing Small Wildlife in Natural Light?
Increasing ISO is often necessary when you’re combining a relatively small aperture with a fast shutter speed, particularly in shaded habitats where natural light is limited.
I frequently see photographers become reluctant to increase their ISO because they’re concerned about introducing noise into their photographs. While that concern is understandable, I think it is important to recognise that a slightly noisy photograph with good detail is generally preferable to one that is beautifully clean but blurred through insufficient shutter speed.
Imagine photographing a small reptile beneath the rainforest canopy in Costa Rica. The surrounding vegetation may prevent much of the available sunlight from reaching the subject, while the close focusing distance encourages you to select f/8 or f/11 to retain enough depth of field.
If you also need 1/500 second to minimise movement, you may find that ISO 1600, 3200 or even higher is necessary to achieve an appropriate exposure.

With modern cameras & contemporary noise-reduction software, those ISO values are often perfectly manageable, provided the original exposure contains sufficient information. I would generally rather expose the photograph correctly at a higher ISO than substantially underexpose it at a lower setting & attempt to recover everything afterwards.
That doesn’t mean ISO should be increased indiscriminately. Where the subject is stationary & the camera can be supported securely, reducing shutter speed may allow a lower ISO without compromising sharpness.
The direction & quality of light also deserve attention. Soft, diffused daylight often works beautifully for macro photography, revealing fine textures without creating excessively harsh highlights on shiny insects or amphibian skin.
Before changing camera settings, I would always consider whether a slight adjustment in position could make better use of the available light.
A few inches can sometimes transform the illumination, remove a distracting bright patch from the background or introduce a more attractive relationship between the subject & its surroundings.
How Can Better Fieldcraft Improve Macro Photographs Without Additional Equipment?
The more time I spend photographing wildlife, the more convinced I become that the technical settings are only part of the equation. Understanding your subject, recognising a promising background & knowing when to wait can be just as important as the equipment you’re carrying.
Macro photography makes this particularly obvious because you’re working with a very small part of the surrounding environment. A distracting blade of grass, a bright leaf or an awkwardly positioned twig can occupy a substantial proportion of the finished photograph.
Before taking the picture, I would encourage you to look beyond the animal itself. Consider what’s immediately behind it, whether the background contains unwanted highlights & whether changing your shooting angle would produce a cleaner composition.
This approach is particularly valuable when photographing butterflies, where the same individual can look completely different depending on its perch, wing position & the direction from which it’s photographed.

On our Bulgarian butterfly & macro photography holidays, the photographic opportunities are about far more than simply locating different species. The quality of the background, the condition of the butterfly, its position within the vegetation & the available light all influence whether an encounter produces a worthwhile image.
Early mornings can be particularly productive for butterflies because cooler temperatures may leave them less active, creating opportunities to work carefully with relatively stationary subjects before conditions become warmer.
In Costa Rica, the challenges are rather different. Rainforest vegetation can be dense, light levels are often low & the subjects themselves may be extremely small. A frog positioned on an attractive leaf can produce a wonderful photograph, but the difference between a good composition & a disappointing one may come down to a small change in camera height.
This is why our NaturesLens photography holidays prioritise spending time with productive subjects rather than simply accumulating sightings. Finding another species isn’t necessarily more valuable photographically than improving the image of an animal already in front of you.
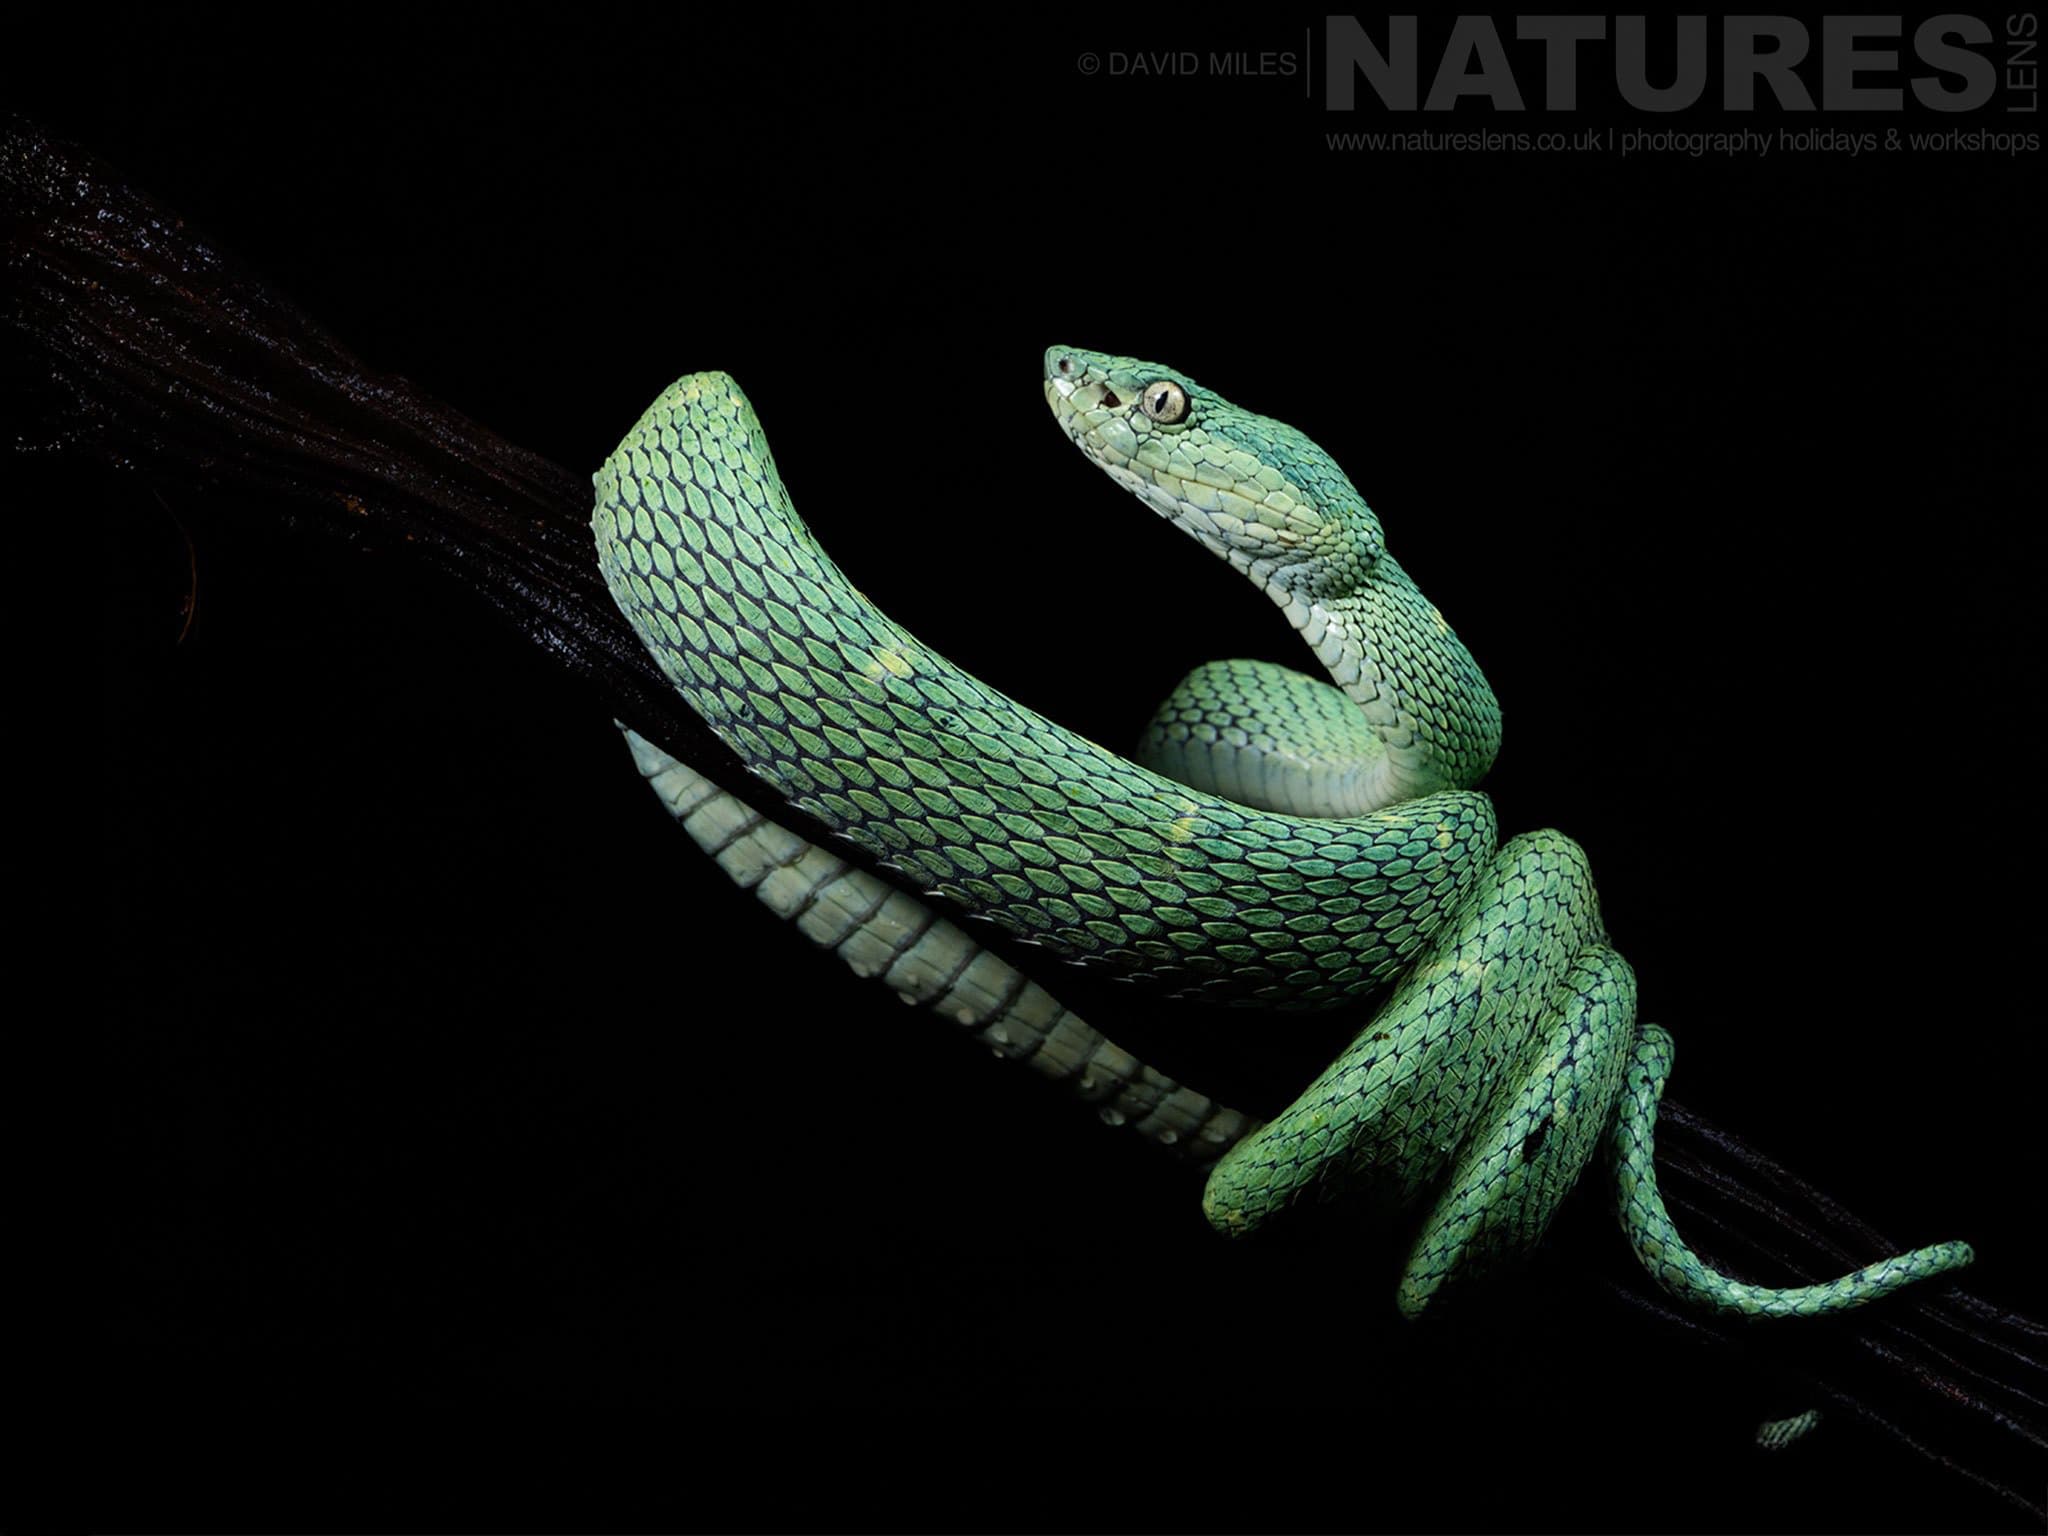
There is also an important responsibility attached to close-up wildlife photography. I would never encourage handling, chilling or repeatedly disturbing an animal simply to obtain a more convenient composition. The objective should always be to work with natural behaviour & minimise our impact on the subject or its habitat.
Patience, observation & thoughtful positioning will often accomplish far more than another piece of equipment.
Can You Really Produce Excellent Macro Photographs Without Focus Stacking or Specialist Lighting?
Absolutely, although it is worth recognising that single-shot macro photography involves accepting certain limitations rather than trying to eliminate them completely.
Focus stacking can produce remarkable results, particularly when photographing extremely small subjects at high magnifications, where obtaining sufficient depth of field in one exposure becomes almost impossible. Similarly, carefully controlled flash lighting can allow photographers to work with very small apertures, low ISO settings & exceptionally short effective exposure times.
These techniques have genuine advantages, & I certainly wouldn’t discourage anyone from exploring them. However, they are not prerequisites for enjoying macro photography or producing images with strong visual impact.
For many wildlife subjects, particularly those encountered naturally in the field, a single photograph can be the most practical approach. Insects move, frogs change position, vegetation sways & opportunities can disappear before an elaborate arrangement is ready.
What matters is understanding the compromises you’re making. Manual focus or carefully controlled autofocus helps you select the important detail, a moderately small aperture provides additional depth of field, an appropriate shutter speed reduces motion blur & ISO gives you the flexibility to balance the exposure.
Beyond those settings, composition, light, background & subject behaviour determine whether the photograph becomes something memorable.
If you’re relatively new to macro photography, my suggestion would be to begin with subjects that allow you to work slowly. A resting butterfly, a cooperative beetle or a small reptile basking in suitable light can give you time to experiment, examine the results & understand how each adjustment changes the finished image.
This is also where guidance from another photographer can be valuable, particularly when you’re working in unfamiliar habitats or photographing wildlife whose behaviour you haven’t encountered before.
Ultimately, the attraction of macro photography is that it encourages us to examine the natural world at a scale we might otherwise overlook. A tiny insect becomes a fascinating subject, the textures of a butterfly’s wing reveal extraordinary detail & an apparently ordinary patch of vegetation can provide an entire morning of photographic possibilities.
You don’t need to master every specialist technique before experiencing that. Start with one frame, concentrate on getting the important details sharp & give yourself time to understand the light & your subject.
The more you practise, the more you’ll discover that successful macro photography is less about the complexity of your equipment & considerably more about the decisions you make while looking through the viewfinder.